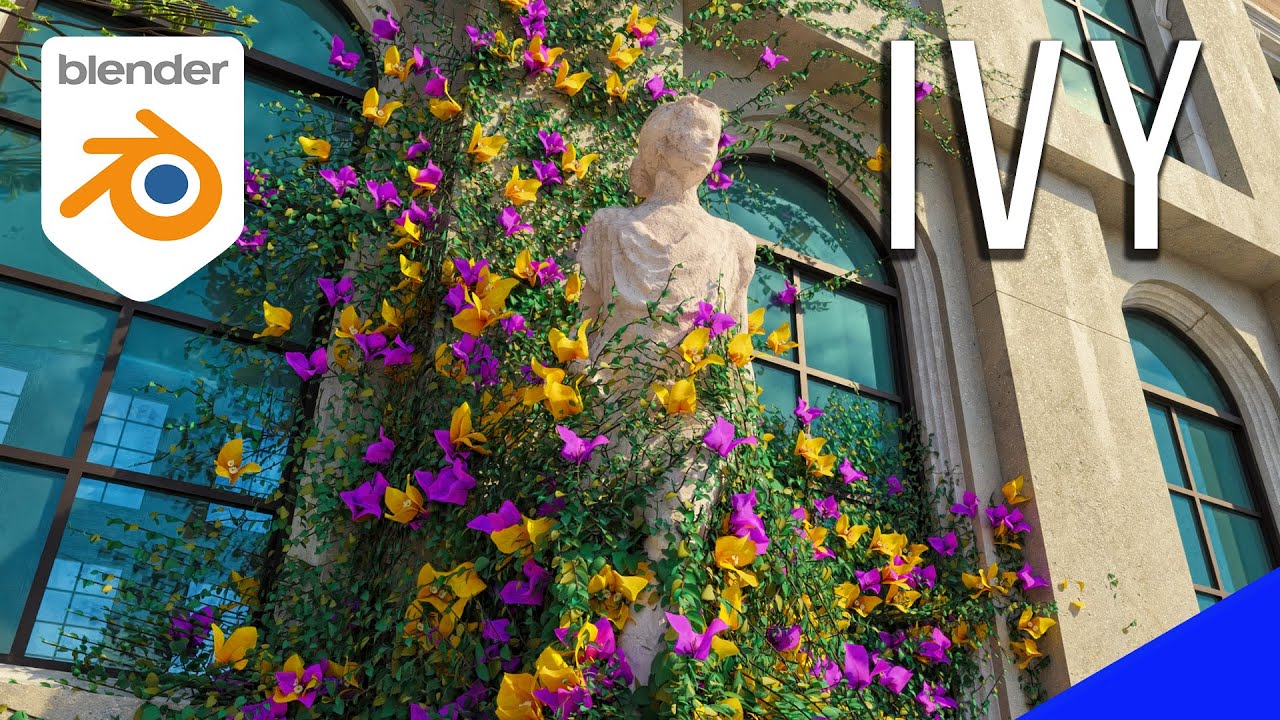
Antoine Bagattini has some amazing products when it comes to Blender add-ons using geometry nodes. His latest ivy generator is no exception and is on my list of favorite Blender add-ons. Here’s an overview and tutorial of the Baga Ivy Generator.
This post contains affiliate links which pay me a small commission at no cost to you. Privacy Policy
What Baga Ivy Generator Does
The Baga Ivy Generator uses geometry nodes to create realistic ivy which can be drawn over objects in a scene. The add-on also comes with a large library of over 120 assets which include leaves and flowers for the ivy. The assets work in the Blender asset browser.
In addition to individual assets, the ivy generator comes with 30 ivy presets. These are pre-built combinations of leaves and flowers to simulate real-world ivy configurations (they look amazing!)
The add-on has many controls to customize and tweak the ivy once it’s generated. We can control the growth, density and so much more non-destructively.
There are also a lot of optimization settings. Ivy can really slow down the viewport, but the add-on includes visibility controls and proxy settings.
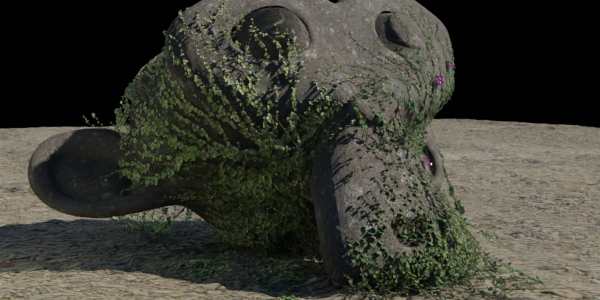
The proxies are low-poly objects that take the place of the high-poly ivy in the viewport. They greatly enhance responsiveness of the 3D viewport.
Objects can be set as effectors. Ivy will avoid the effectors and grow away from them.
The ivy created with Baga Ivy can be animated to blow in the wind (continuously or in a loop) very easily.
How to Install Baga Ivy Generator
The Baga Ivy Generator installs like most other addons. Here’s a full explanation of how to install add-ons in Blender.
Because the add-on comes with a large library of nature assets, there is one more step to take after installation. In the User Preferences, expand the Baga Ivy tab in the add-ons section.
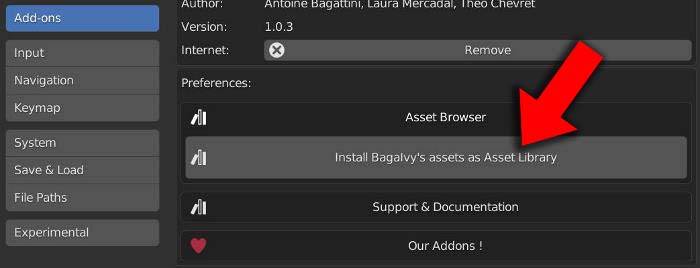
Press the button labeled “Install BagaIvy’s assets as Asset Library.” Then close the preferences. Open the Blender Asset Browser in a workspace. We will see a library has been added to the asset browser titled “BagaIvy Generator.”
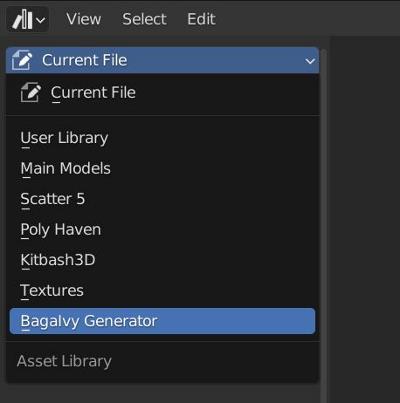
The Baga Ivy Assets
The Baga Ivy Generator comes with over 120 realistic assets and 30 ivy presets. They will be added to the asset browser and automatically organized into three catalogs: Leaves, Flowers & Presets. Leaves and Flowers will be further organized by species.

Leaves and flowers are treated differently by the add-on. This is because ivy is expected to have a lot more leaves than it does flowers.
Presets
My favorite use of the Baga Ivy Generator is the presets. The 30 presets are combinations of leaves and flowers that simulate real-world ivy. They look very realistic.

How to Use the Baga Ivy Generator
The Baga Ivy Generator’s controls appear in the Sidebar Menu (press “N” to toggle open). A tab will appear labeled “BagaIvy.” To use the Baga Ivy Generator, we have to select three things:
1. Select Ivy Assets
There are two methods to select assets to be used in the ivy: Viewport Select and Asset Browser Select. The default and preferred method is Asset Browser Select.

With “Asset Browser” selected, go into the Baga Ivy assets. We can either choose individual leaves and flowers or a preset.
To choose individual leaves and flowers, press shift and select as many leaves and flowers that you want to include in the ivy.

Or we could select a single preset from the asset browser and use it as our ivy.
2. Set Origin Point for Ivy
To set an origin point for the ivy, simply place the 3D Cursor where you want the ivy to begin. You can do this by pressing “Shift” and right-clicking at the location in the viewport.
3. Choose Ivy Targets
We must choose objects in the scene for the ivy to target. The ivy will only cling to and grow on objects we have set as targets in our scene. To choose targets, simply select the objects in the 3D viewport. Press shift and left click on objects to select multiple objects.
4. Create Ivy
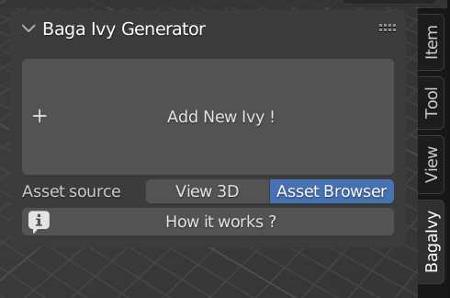
With the assets, origin point and target objects identified, press the large “Add New Ivy” button in the sidebar menu.
A new ivy object will be added to the scene and we’ll enter a bezier curve draw mode in the viewport. Now, simply draw on the target objects with a cursor. Starty by creating strokes from close to the origin point and drawing away from it.
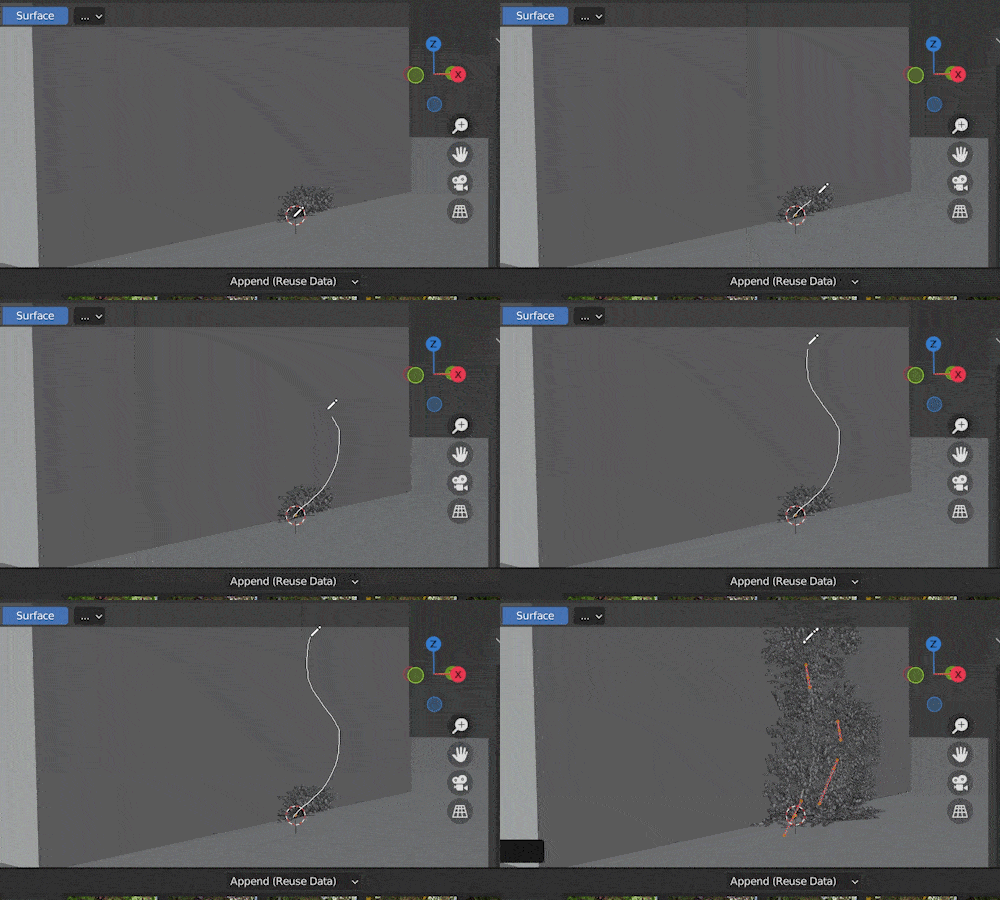
We can draw additional strokes to have the ivy spread. If we don’t want to undo a stroke, press Control + Z.
Settings and Controls
Ivy created in the generator is incredibly customizable. Here is an overview of the settings. These settings appear in the Sidebar when an ivy object is selected.
Ivy Growth
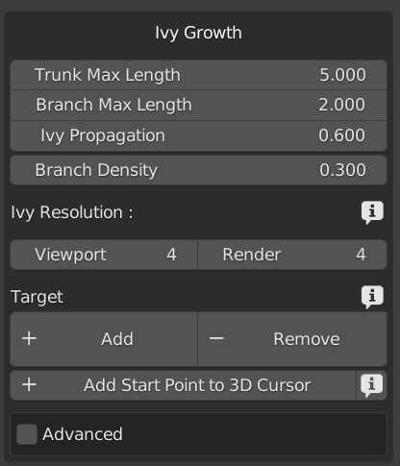
The ivy growth settings allow us to change the maximum length of the trunk and branches independently.
We can adjust how the ivy propagates and the branch density.
The ivy resolution allows the ivy bezier curve to be subdivided. We can set different resolution settings for the viewport and final render.
We can add or remove target objects here. A target object is an object the ivy grows on.
Leaves
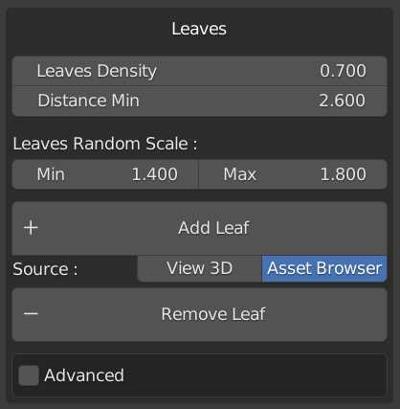
In the leaf settings we can set the leaf density and minimum distance.
We can give a highly customizable randomization to the leaves by setting minimum and maximum leaf scale.
We can add new leaves by either selecting a leaf in the viewport or the asset browser and choosing “add leaf.”
We can also remove a leaf in the same way and there are more advanced settings if we check the “advanced” box.
Flowers
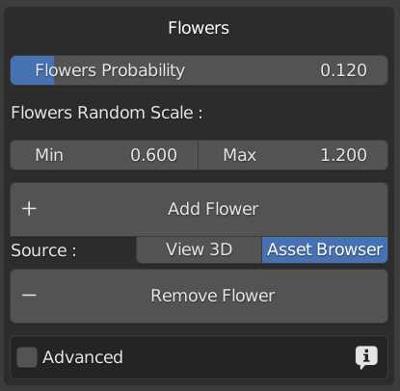
Flowers are controlled separately from leaves. We can adjust the probability (higher means more flowers).
We can customize the randomization of the flower scale.
We can add flowers by selecting them from the 3D viewport or the asset browser and choosing “add flower.”
We can remove flowers from the ivy.
Trunk
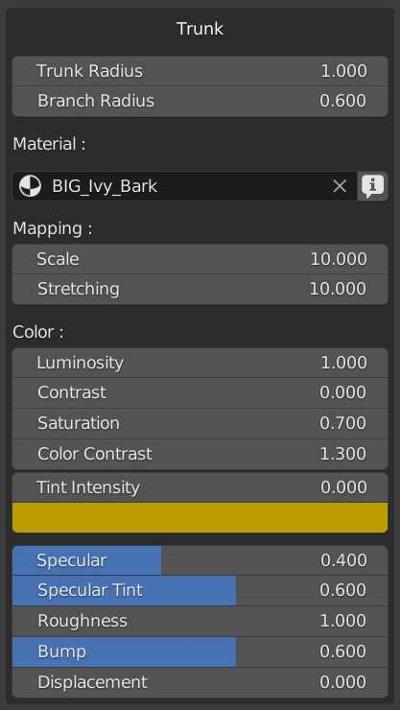
The trunk and branches of the ivy will be assigned a fairly realistic material that is highly adjustable in the trunk settings.
We can adjust the trunk radius and branch radius independently to make them thicker or thinner.
We can assign a different material to the trunk and branches.
We can adjust the mapping of the trunk material by scaling or stretching it.
There are several ways to adjust the trunk material including: luminosity, contrast, saturation, tint, specular, roughness, bump and displacement.
Effector
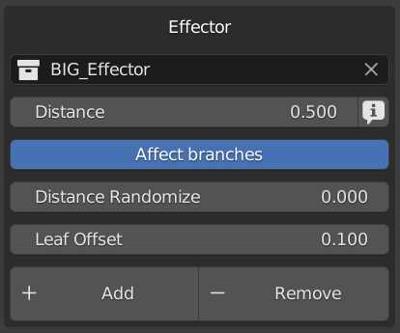
An effector is an object the Baga Ivy will avoid.
We can set a minimum distance for the avoidance and choose whether or not to have an effector affect the branches of the ivy (as opposed to just the trunk).
We can randomize the distance, set a leaf offset and add or remove effector objects with these settings.
Animation
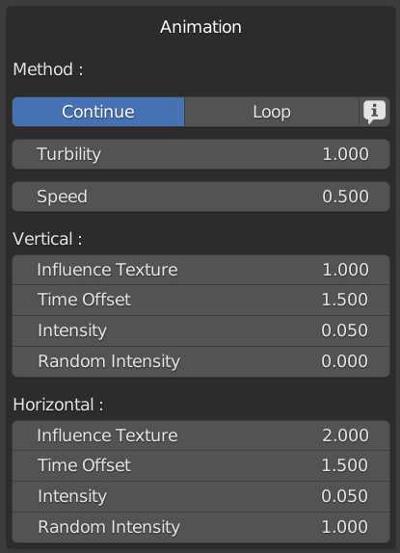
The Baga Ivy can be animated.
We can choose a continuous or looping animation.
We can adjust the turbulance and speed of the wind animation.
A number of specific adjustments can be made either vertically or horizontally.
The time offset, intensity and randomization of the intensity can be set individually for vertical and horizontal.
Generation Method
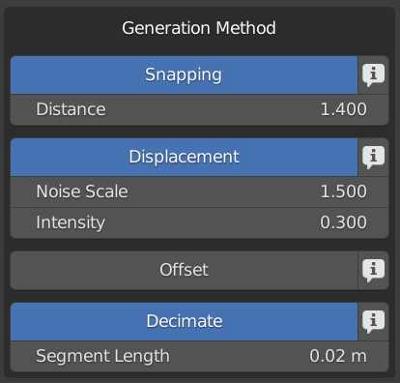
How the ivy is generated can be adjusted.
We can control how the ivy snaps to objects and set a snapping distance.
We can adjust the displacement of the ivy by changing the noise scale and intensity settings.
We can offset and even decimate the ivy.
Visibility
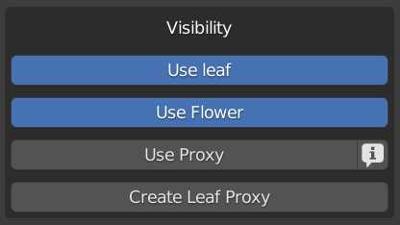
Visibility settings can improve viewport performance. We can toggle visibility of the leaves and flowers. If the visibility is turned off, they will not render.
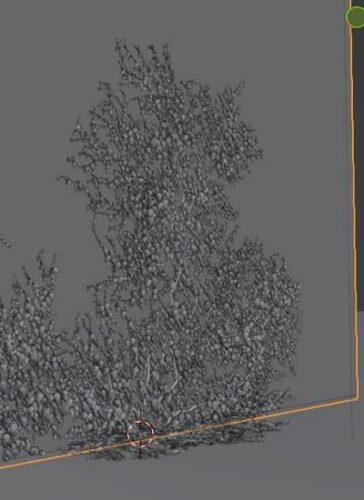
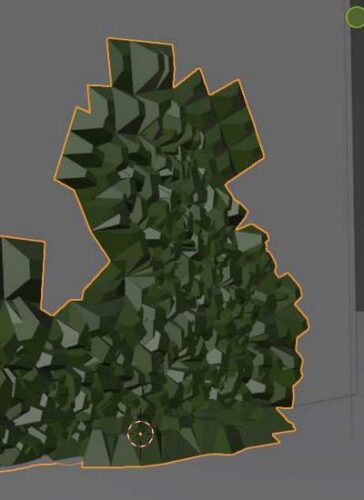
We can add low-poly proxy objects to take the place of the ivy or individual leaves. This greatly improves responsiveness of the viewport and uses the proxy as a placeholder.
Get Brandon’s Newsletter
By submitting, you agree to receive periodic e-mails from me. You can unsubscribe at any time.


