Lighting is one of the most important parts of a 3D scene. Whether you’re animating or creating still renders, nothing can improve a scene more than lighting. Before we can get into advanced lighting techniques, we need to cover the basics.
This page may contain affiliate links which pay me a commission if used to make a purchase. As an Amazon Associate, I earn from qualifying purchases.
More Articles on Lighting in Blender
Lighting in Cycles vs. Eevee
It’s important to know that lighting can differ between the Cycles Render Engine and the Eevee Render Engine. The settings may need to be changed depending on which one we are using. Eevee is restricted to using 64 light sources in a scene.
Cycles is a very powerful tool for rendering realistic lighting. But with extended render times in Cycles, Eevee may be the most practical for many things such as animation.
I will do my best to address differences between Cycles and Eevee as we go. There are several features such as using light groups that will only work with Cycles.
While there are different ways to set up lighting for a scene, they all use the four lighting tools Blender has to offer.
#1: Adding Lamps in Blender 3D
Lamps (often just referred to as “lights”) are the most basic way of lighting a scene. Blender gives us four types of lights to work with. Lamps will probably be in every scene we create and they will carry most of the weight in lighting an interior scene.
Before we look at the four types of lamps, let’s answer this important question first…
How do we add a lamp in Blender?
To add a light (lamp) in Blender, press Control + A on the keyboard while in the 3D Viewport. Choose the object type “light” and then choose the lamp type from the four available options.
After we cover the different lamp types, I will include some general lamp settings below.
Point Lamps
Point lamps are the best representation of how most real-world light sources work. Light from a point lamp starts from a single point and emits outward in every direction.
As the light travels farther from the light source, it dissipates or reduces in strength. This reduction of strength is known as Falloff.
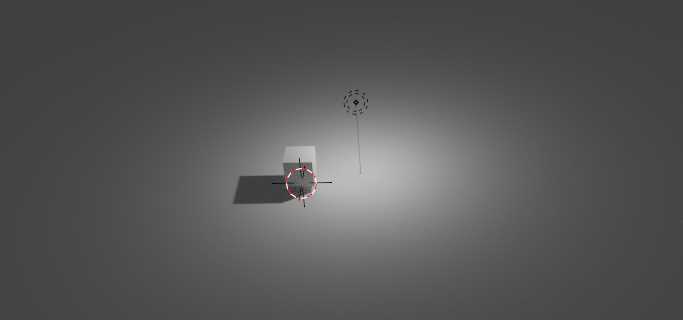
With the default settings, a point lamp may appear similar in Cycles and Eevee, but the setting options are different in each render engine.
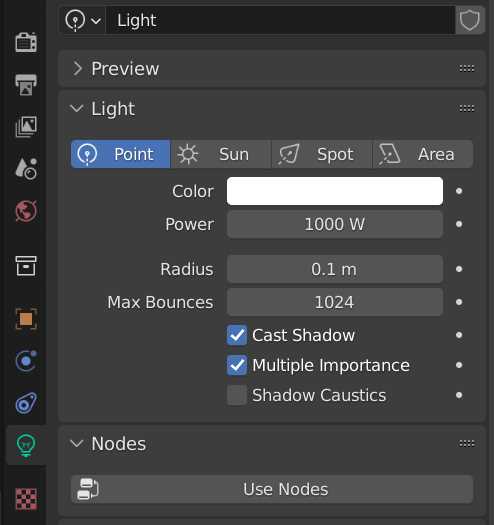
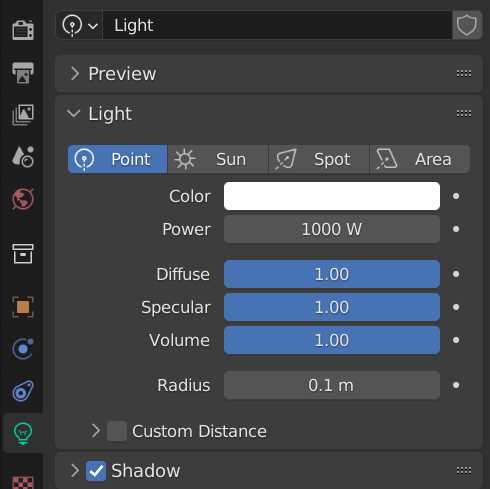
As with all lamp types, the point lamp settings are found in the Light Properties Panel.
Sun Lamp
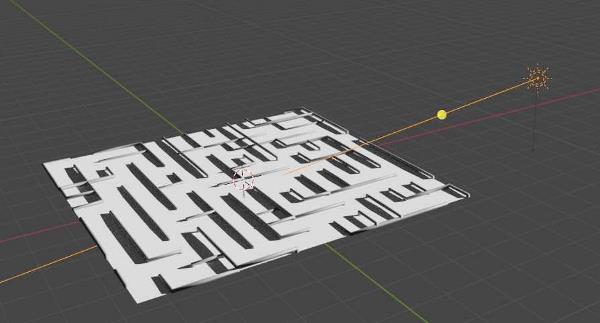
The sun lamp imitates having a sun in our scene. Since the real-world sun is so far away, the falloff from its light is not noticeable to humans on Earth. So in Blender, a sun lamp will have a “constant falloff” meaning it’s the same strength everywhere in the scene. We can control the direction, intensity and color of the sun lamp.
Spot Lamp
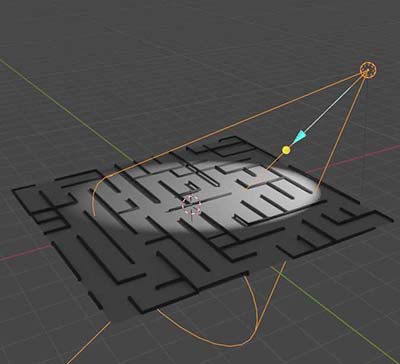
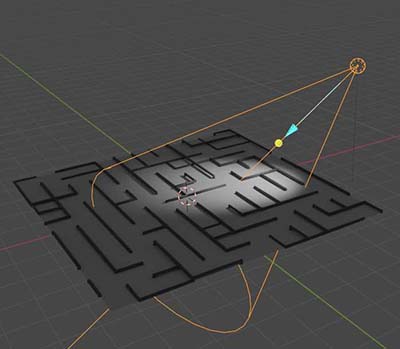
A spot lamp in Blender simulates a real-world spot light. Its light shines in a cone-shaped pattern, but the light dissipates as it travels from the source. We are able to adjust the strength, color, size of the cone and the “blend.”
The blend is how sharply the light is contained in the cone pattern. A zero blend will be fully lit in the cone area and no light will be outside the cone.
There will be a distinct and noticeable separation of the lighted area. If we increase the blend setting, the lit and unlit areas will blend together.
Area Lamp
An area lamp emits from a plane. These lamps simulate light diffusers in studios and other large emitters of light commonly used in photography or film.
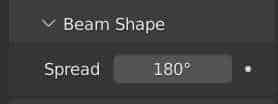
An interesting setting on the area lamp is the spread. It is found under “Beam Shape” in the Light Properties Panel.
By default, it is set to the maximum of 180 degrees. Turning this down gives us a sharper outline of the light as shown below.
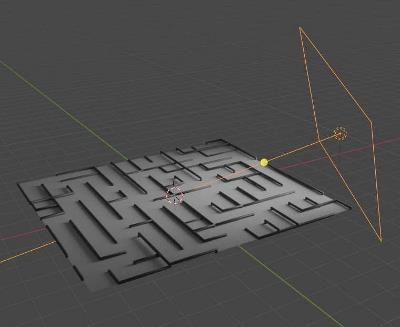
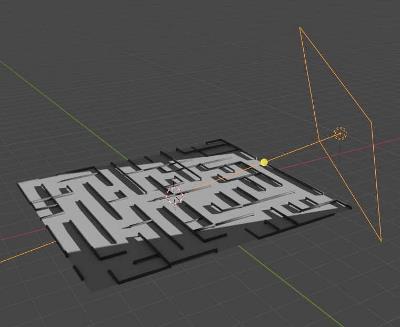
Different shapes for the area lamp can be selected from the light properties panel. Options include: Square, Rectangle, Disk and Ellipse.
General Lamp Settings
Here are settings commonly available for the different lamp types. They are located in the Light Properties Panel.
Color Settings

We can select a color for lamps by clicking the colored box. A color picker will open where we can choose a color.
We can enter specific RGB, HSV or Hex values if we need an exact color. There is also an eyedropper tool to choose the color from somewhere in our viewport.
Power Setting
The power of the lamp is its strength. A higher power value will be brighter and will shine a much farther distance in the scene before it falls off.
Lamp Radius Setting
Radius is the physical size of the lamp. In addition to the simple size of the lamp, size affects a light’s shadows. Larger lamps produce softer shadows while smaller lamps produce harder, more defined shadows.
Going too small on the radius can give Cycles issues with calculations so try to keep the sizes close to real-world measurements.
Max Bounces (Cycles)
Cycles is a Ray-Trace Render Engine and performs complex calculations which trace the path of each light in a scene. As the light strikes objects, it is reflected, refracted or absorbed. Cycles does a fair job at replicating real-world light behavior.

The max bounces setting is found in a lamp’s properties panel when using Cycles. This is the maximum number of times the selected light’s path will be followed when it “bounces” off of an object.
Higher values will be more realistic (and add more light) but will extend render times. This is a setting we can lower when attempting to reduce render times.
Reflection Multipliers (Eevee)
The Eevee Render Engine does not use ray-tracing like Cycles so it does not have a Max Bounces setting. Instead, lamps in Eevee use a reflection multiplier.
This controls how reflective the light will behave when it contacts different types of surfaces (or volume) in the scene.

These allow us to slide the values from zero to one, but we can manually type values outside this range. Higher values will make a surface type (diffuse, specular or volume) more reflective for the selected lamp’s light.
Cast Shadows (Cycles and Eevee)
This setting does what the name implies. When the box is checked (as it is by default) the lamp will cast shadows in our scene. There may be situations where we don’t want shadows cast by a specific lamp.
If that’s the case, we can turn it off in the setting of lamps individually.
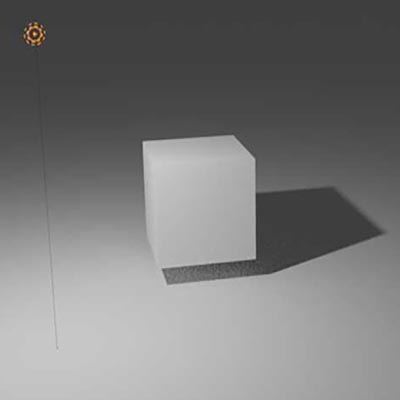
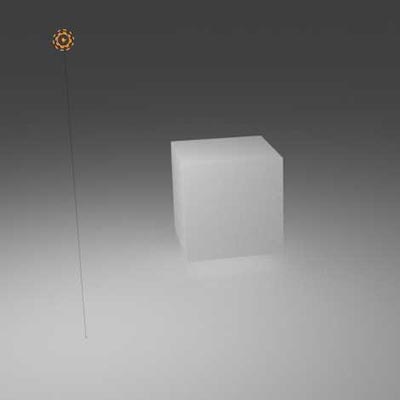
In Cycles, the “Cast Shadows” setting is simply a checkbox. In Eevee, there is a checkbox and then additional settings for shadows.

We can have the shadows “clip” (this means not display) prior to a certain distance with the Clip Start setting.
Multiple Importance Setting (Cycles)
A much less self-explanatory setting name is “Multiple Importance.” When this is checked on, there may be less noise in certain areas of where the light shines. It is another setting to try if you need to reduce noise or conversely, reduce render times.
The bias of a shadow is a setting to adjust in order to reduce self-shadowing in Eevee.
#2: HDRI Lighting in Blender
Another way to light a scene is with a high-dynamic range image (HDRI) inserted in the world background. These can provide both background imagery and lighting.
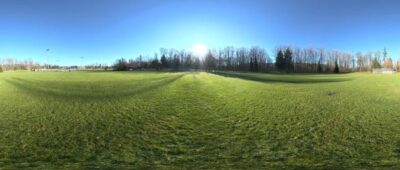
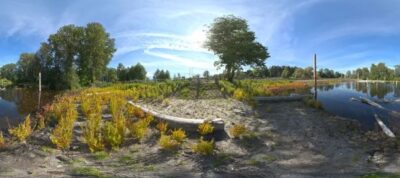
You add the HDRI into the world properties. I have a full guide on using high-dynamic range images in Blender as well as this video on my YouTube channel:
The best place to get free HDRIs is definitely from Poly Haven. No account required, no catches – just free images and other 3D assets.
#3: Emissive Material for Lighting in Blender
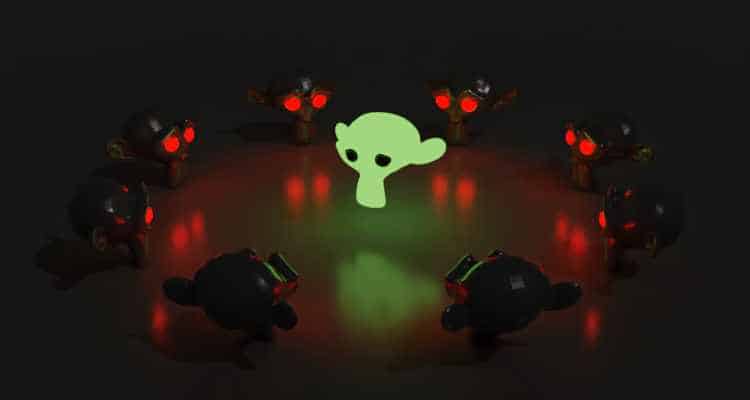
One tool for lighting a scene that often goes overlooked is emissive materials. We can apply emissive materials to any mesh using either an emission node or the Principled BSDF shader.
This could make entire objects or parts of objects contribute light to a scene.
This emissive material’s strength, color and other properties can be adjusted in the Material Properties Panel. Because materials can use nodes and shaders, the look of this lighting source can be highly customized.
Adding an Emissive Material
Adding an emissive material is like adding any other material, but we will generally start with an Emission Shader. Open the Materials Properties Panel. At the top, add a material slot if there isn’t already one we want to use. Change the shader type to “Emission.”

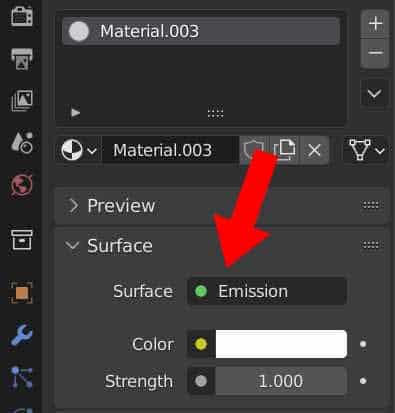
With emissive materials, we can use the objects to “glow” in order to light our scene. Even more can be done by activating an emission pass in the View Layer Properties and then using it in the Compositor.
If you’re looking for a complete introduction to material shading in general, I have a two-part series on the subject – which starts with this video.
#4: IES Lighting
IES Lights are file types which tell a lamp how to emit light and how that light diminishes as it travels away from the lamp. IES files are created by manufacturers of real-world lights to simulate their effects in scenes.
Continue reading or see this article about IES lamps for more.
We will first need to download an IES light file that we want to use. Thousands of them can be found for free at IESlibrary.com.
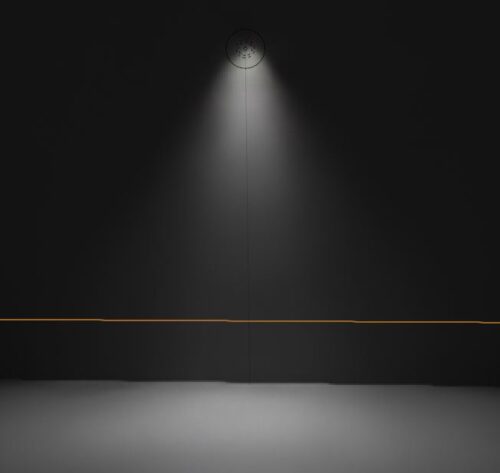
IES lights only work in Cycles and will not work in Eevee.
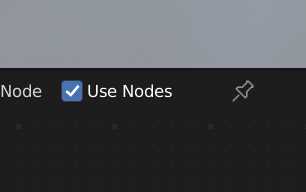
To set up an IES light, add a point lamp to the scene. Go to the Light Properties Panel and turn on the “Use Nodes” button. This can also be done in the Shader Editor if the point lamp is selected.
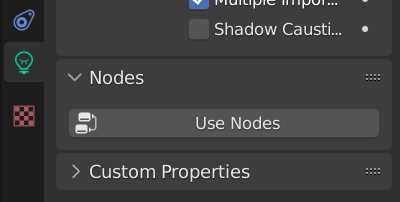
With the lamp selected, go to the Shader Editor. There will be an emission shader plugged into a light output node. Hover in the shader editor and press Shift + A to add a shader and locate the IES Texture Node.
Plug its Factor output into the strength input of the emission shader.
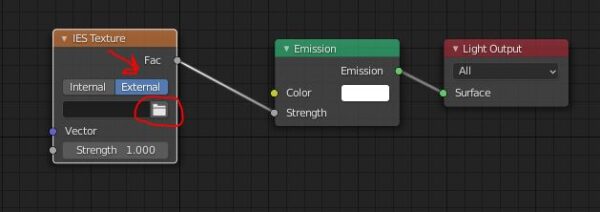
Toggle the IES texture node to “External” and a file browser option will open. Click on it and navigate to the IES file you want to use. Choose it and the IES lamp should display correctly.
We adjust the strength of the light from the IES texture node (it may need to be turned down significantly from the default). We can adjust the color of the lamp from the emission shader.
Here are some helpful links for more info on lighting in Blender:
Get Brandon’s Newsletter
By submitting, you agree to receive periodic e-mails from me. You can unsubscribe at any time.
