The real snow add-on for Blender comes pre-installed with Blender. It just has to be activated. With Real Snow, we can quickly add basic snow on the top of objects. Some features of the snow can be adjusted. Here’s how to use the Real Snow add-on in Blender.
This post may contain affiliate links which pay me a commission if used to purchase. Privacy Policy
How to Activate the Real Snow Add-On
The Real-Snow add-on is already installed when you download Blender. To activate the Real Snow Addon-on, go to Edit – Preferences. Select the add-ons tab on the left and search for the add-on “Real Snow.” Check the box to activate it.

There are also other add-ons that come pre-installed with Blender such as the Dynamic Skies add-on.
How to Add Snow with the Real Snow Add-On
To use the Real Snow Add-On for Blender, we have to be in object mode. The controls will not be available in Edit Mode.
The Real Snow controls are located in the sidebar of the 3D viewport. Toggle the sidebar open with the keyboard shortcut “N.” Find the tab on the sidebar labeled “Real Snow.”
The Real Snow panel has only a few settings. They include: Coverage, Height and “Selected Faces.”
To add procedural snow with the Real Snow add-on, select one or more mesh objects in Object Mode. Press the “Add Snow” button in the sidebar controls and snow will be added to the tops of selected objects.
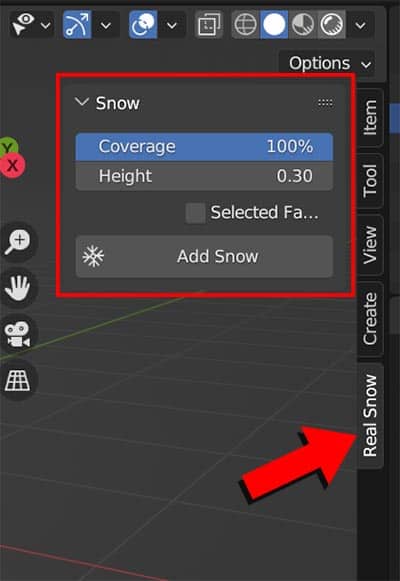
The snow is added as a separate object, but the snow object is parented to the original selected object. Once the snow is added, it can not be adjusted. If we want to change the appearance or shape of the snow, we will have to delete it and add snow again.
The Real Snow add-on will work in both Cycles and Eevee render engines.
Real Snow Add-On Settings
In the Real Snow controls in the sidebar, we can adjust how tall the snow is, how much of an object is covered with snow and specify where we want the snow to appear.
Coverage
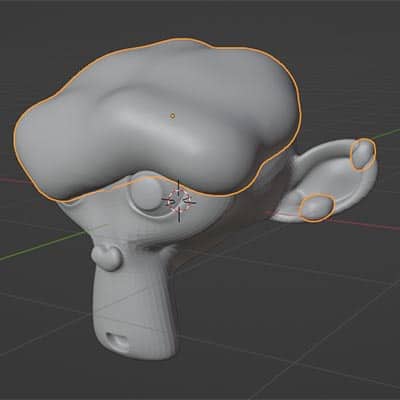
The snow will be added to the top of the objects (along the Z axis). The coverage slider determines how much of the upward facing portions of selected objects will be covered in snow.
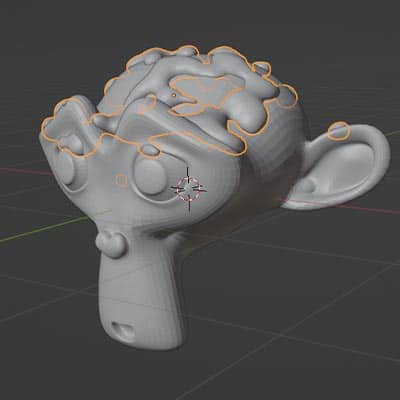
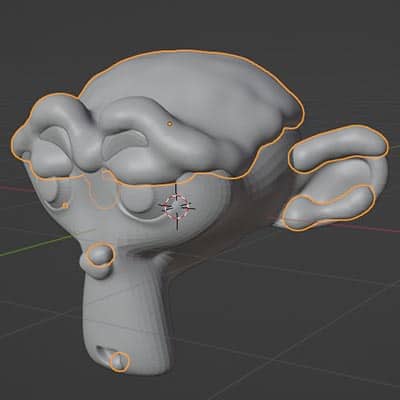
The coverage slider has a range from 0% to 100%. When set to zero, no snow will be added. When set to 100, a solid block of snow will cover the entire face of the object.
Height
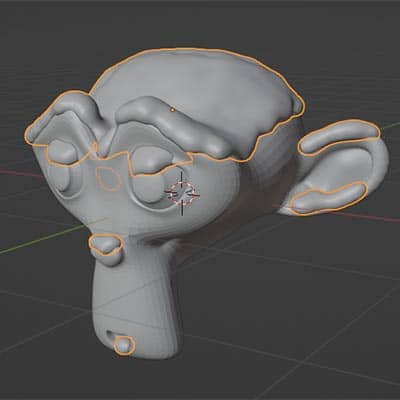
The height setting controls how tall the snow will be. The height setting has an available range from 0.1 to 1 and defaults to 0.3. The higher the value in this settings, the taller the snow will be.
Selected Faces
Below the coverage and height settings is a check box labeled “Selected Faces.” By default it is not checked. Checking this box will add snow only to selected faces of the object.
But if we are in object mode, how can there be faces selected? Good question!
To use the “Selected Faces” feature of the Real Snow Add-On, we have to first go into Edit Mode and select only the faces we want to add snow to. Then, we return to object mode and press the “Add Snow” button with the “Selected Faces” option checked.
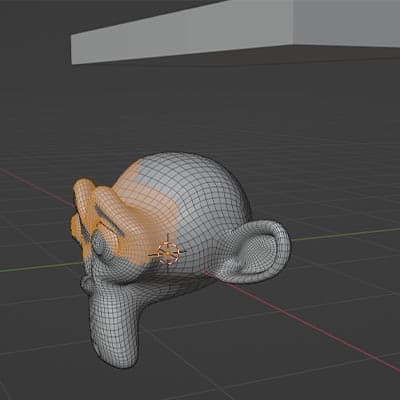
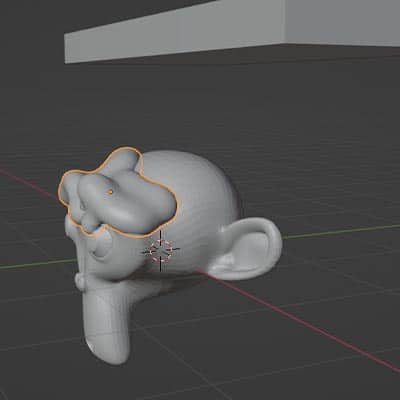
The snow will still only appear on the upward facing faces, even if we selected faces that don’t face upward. However, this is a manual way of restricting the placement of snow to only certain parts of an object.
The Real Snow add-on can tell which faces of an object are oriented upward. These are the faces that naturally would have snow accumulate on them. However, the add-on can’t tell if an area of an object would be shaded by another object above it. We may need to manually adjust areas using this feature.
Real Snow Material
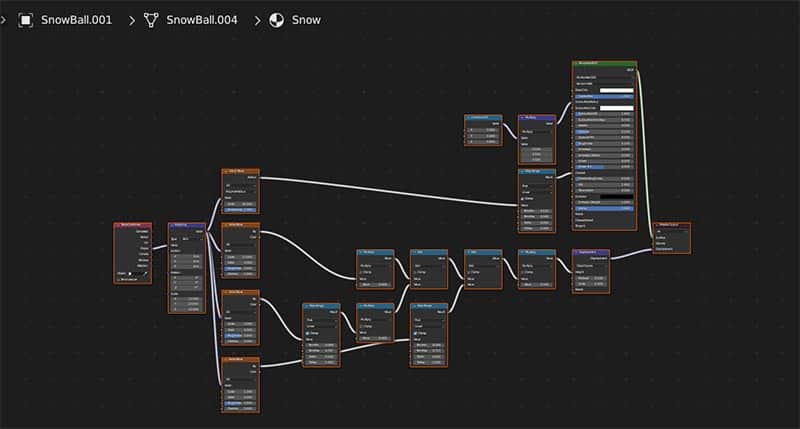
The Real Snow Add-On automatically adds a material to the snow it creates. It’s a quick and fairly decent snow material but it’s certainly not the best there is. If we have another material we wish to use, we have full control over removing and adding materials just as we would with any other object.
More About the Real Snow Add-On for Blender
The real snow add-on was created by Marco Pavanello, known as “3D Wolf.” He is well known for other “Real” add-ons to create trees, skies, environments and more. Since Blender version 2.8, the Real Snow add-on has shipped pre-installed in Blender. It is open source and free to use.
Conclusion
The Real Snow Add-On for Blender is a way to quickly add snow on the tops of objects. There are a few adjustments to the snow which can be made in the sidebar controls. Real Snow comes pre-installed in Blender and we just have to activate it in the User Preferences. For more information, you can also visit the Real Snow add-on documentation page.
Please take a look around at the site. There’s a lot of Blender content here. I also have a YouTube channel with video tutorials. Say hi on Instagram and as always, stay creative!
Get Brandon’s Newsletter
By submitting, you agree to receive periodic e-mails from me. You can unsubscribe at any time.


