A normal in 3D software is the direction of a face or vertex for purposes of interacting with light. Often when we encounter shading issues while modeling 3D objects in Blender, it is a problem with an object’s “normals.”
Here’s how to recalculate and flip normals in Blender.
This page may contain affiliate links which pay me a commission if used to make a purchase. As an Amazon Associate, I earn from qualifying purchases.
How to View Normals in Blender?
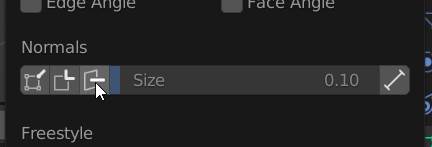
To view the normals of a mesh object, go into Edit Mode. From the Overlays Menu at the top of the 3D viewport, go to the normals section. Toggle on vertex, split or face normals and then choose the size (length) of the display lines.

By the way, the overlays menu is also where we can turn on the statistics overlay for the 3D viewport.
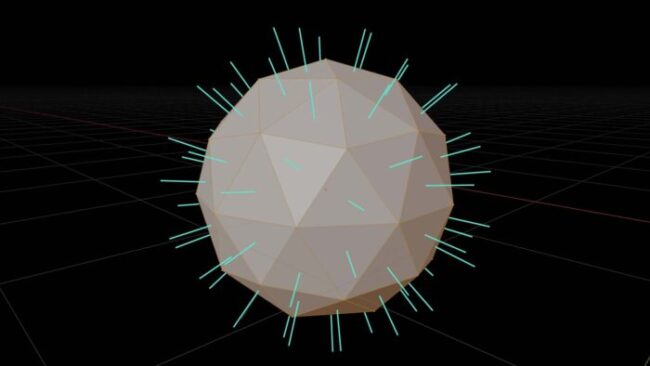
The viewport will display lines representing the normals for whichever normal types you toggle on. Below is an example of face normals displayed on an object in the viewport.

How to View Face Orientation (Front vs Back)?
Faces in Blender have a designated front and back side. This is important for how a face interacts with light and if you want the front and back sides of a face to have different characteristics.
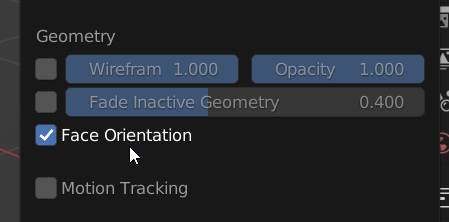
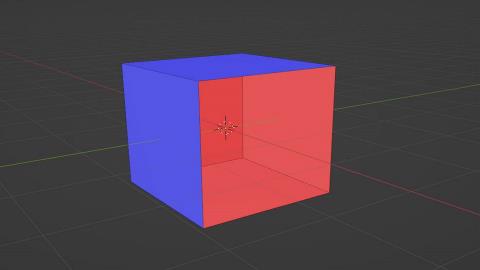
To view face orientations in Blender, go to the Overlays Menu at the top of the 3D Viewport. Under “Geometry” check on the box for “Face Orientation.” While in Solid View, the outside of the faces will appear blue and the inside faces will appear red.


Here’s the Blender Manual’s documentation on viewport overlays.
How to Recalculate Normals in Blender?
While we are modeling an object, we may often accidentally flip some of the normals. I’ve especially run into this when modeling with messy tools like the knife tool or when I’m combining geometry or merging vertices.
To recalculate normals of a mesh object, enter Edit Mode and select the entire mesh by pressing “A.” Use the shortcut Shift + N to recalculate the normals of the mesh.
Once we recalculate the normals, an Operator Panel will appear in the bottom left of the screen.

When we expand this panel, we see a check box labeled “Inside.” If we check this, it will recalculate all of the normals in the opposite direction. Instead of pointing the “front” faces toward the outside of the object, they will be pointed inwards.
One reason this may be necessary is if the object surrounds the camera, such as if the object is being used as a room for an interior scene.
How to Flip Normals in Blender?
Sometimes we run into a situation where we need the current orientation of all or some of an object’s faces to be reversed or “flipped.”
To flip normals in Blender, enter edit mode and select the faces with normals you want flipped. Choose “Mesh” from the top menu and then find “Normals” and expand the options. Select “Flip” and normals of the selected faces will be flipped.
You can also open the normals menu in the 3D Viewport with the shortcut “Alt + N” and then choose “Flip.”

If you’re looking to use normal maps in your shading, see my full guide on using normal maps.
Get Brandon’s Newsletter
By submitting, you agree to receive periodic e-mails from me. You can unsubscribe at any time.


