An Add-On (or plug-in) is a third-party tool to extend Blender’s functionality or simplify a workflow. Here’s everything you need to know about installing, activating and managing an add-on in Blender.
If you are looking for add-ons, here is my list of the best add-ons for Blender.
This page may contain affiliate links which pay me a commission if used to make a purchase. As an Amazon Associate, I earn from qualifying purchases.
Blender Plug-In File Formats
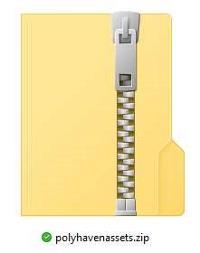
Usually when we purchase or otherwise download an add-on for Blender, we get a .Zip file. You may occasionally run into other compressed file types.
Blender will be looking for a .Zip file so if you got a .Zip file do not unzip it! If you received another file format, you may have to decompress it and then compress it into a .Zip format.
Installing an Add-On in Blender
Here’s the step-by-step process to install and activate an add-on in Blender.
Step 1: Go to Preferences
To install an addon that does not already come packaged with Blender, navigate to the User Preferences. Go to “Edit” in the Top Bar and choose “preferences.”
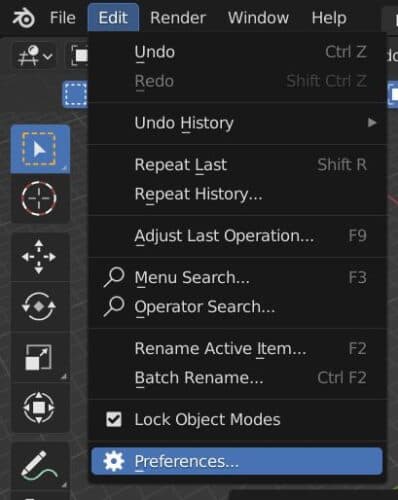
The preferences window will open. On the left side are several tabs. Select the tab labeled “Add-Ons.”
Step 2: Install Add-On from File
From the preferences window, click the “Install” button on the top right.
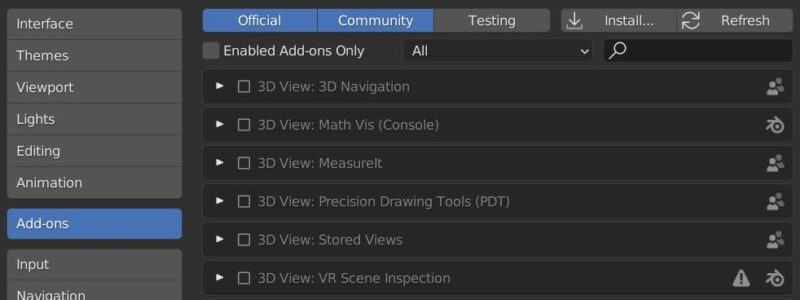
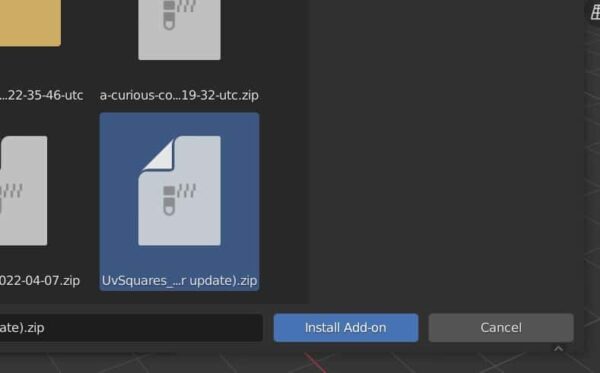
Navigate to the location on your computer where the stored .Zip file for the add-on is located. Select the file. Click Install Addon.
Step 3: Activate Add-On
In the preferences window, there is a long list of installed add-ons. Next to each add-on is a check box to activate and de-activate an the add-on.

At the top right of the add-on preferences is a search box. Type in the name of the add-on you just installed to find it in the list. Check on the box to the left of you add-on to activate it.
For most Blender add-ons, that’s all you need to do. Sometimes an add-on will have an additional set-up step…
Step 4: Add-On Settings
Some add-ons (not all) require additional set-up steps. To see what additional settings your add-on may have, click the arrow to the left of the add-on’s name in the preferences window.
Here we will see a description of the add-on, where the controls for it are located and other details. If the add-on has fields that need to be completed before it can be used, they will also be here.
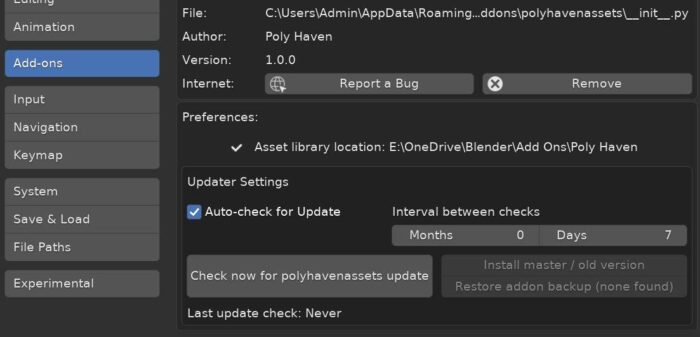
As an example, the Poly Haven Asset Browser has the above settings which need to be configured before using it.
Here is the official Blender Manual documentation on add-ons.
More About Add-Ons
Add-ons are a powerful way to extend Blender’s functionality and to speed up workflows. There are a lot of add-ons out there. Many of them are free, but some paid ones are worth the investment. Here’s a list of my favorite free add-ons to try out. Stay creative!
Get Brandon’s Newsletter
By submitting, you agree to receive periodic e-mails from me. You can unsubscribe at any time.


