
Along with moving objects and scaling objects, rotating an object in Blender is a basic movement known as a “transform.” It can be done with a shortcut, the rotate tool and a couple other ways we will cover.
This page may contain affiliate links which pay me a commission if used to make a purchase. As an Amazon Associate, I earn from qualifying purchases.
Rotate Object in Blender with Keyboard Shortcut
The fastest way to rotate an object in Blender is with the keyboard shortcut. To rotate an object in Blender, select the object in object mode and press “R” on the keyboard.
Then move the mouse around to rotate the object. When it’s rotated the way you want, left click on the mouse to lock the action.
This method will not, by itself, be a precise rotation to a set number of degrees. We cover that below.


By default the object will rotate from your current view. There are a few factors that control how the object rotates, including:
Limit Object Rotation Along a Single Axis
In 3D software there are three axes represented in 3D space. The X axis (left and right), the Y axis (front and back) and the Z axis (up and down). Instead of rotating from our current view, here’s how to rotate an object along a single axis in Blender:
- Press “R” to rotate the object
- Press the letter (X, Y or Z) on the keyboard for the axis to rotate along. For example, pressing “R + X” will restrict the object’s rotation to only the X axis.
- Move the cursor around to move the object in either direction along the axis.
- Left click to lock the rotation into place.
Rotate Object Along Local Axis
An object can be rotated along a local axis. Here’s more about the difference between a global axis and local axis. To rotate an object along a local axis, select the object in Object Mode. Press “R” and then the axis you want to rotate along twice. So “R + ZZ” will rotate along the local Z axis.

Rotate Object a Set Number of Degrees
We can rotate an object a set number of degrees by typing in the number of degrees on our keyboard after we press “R” and before we lock in the rotation by left clicking.
So if you wanted to rotate 45 degrees, press “R45” with the object selected.
The rotation can be inverted by typing a negative number such as “R-45.”
We can also combine rotating a certain number of degrees and limiting the rotation to a certain axis. Typing “RX45” will rotate the object 45 degrees along the X axis.
Rotate Object in Blender with the Rotate Tool
Instead of the shortcut, we can use a tool to rotate an object. Open the tool panel in the 3D Viewport. This is the panel on the left side of the screen. If you don’t see it, press “T” on the keyboard and it will slide open.
In Object Mode, the rotate tool is the fourth tool from the top of the toolbar. Its icon is a diamond with two arrows forming a circle around it. Left click this icon to select the rotate tool.
You will notice red, green, blue and white lines appear around the object in the viewport. If these lines aren’t present, they have probably been turned off in the Gizmos menu on top of the 3D viewport.

Each line in the rotation gizmo can be selected and rotated by left clicking and dragging with your mouse. The lines represent the following:

Rotating an object with a gizmo is also not very precise, but it enables us to rotate along each axis and visualize where the rotation will occur.


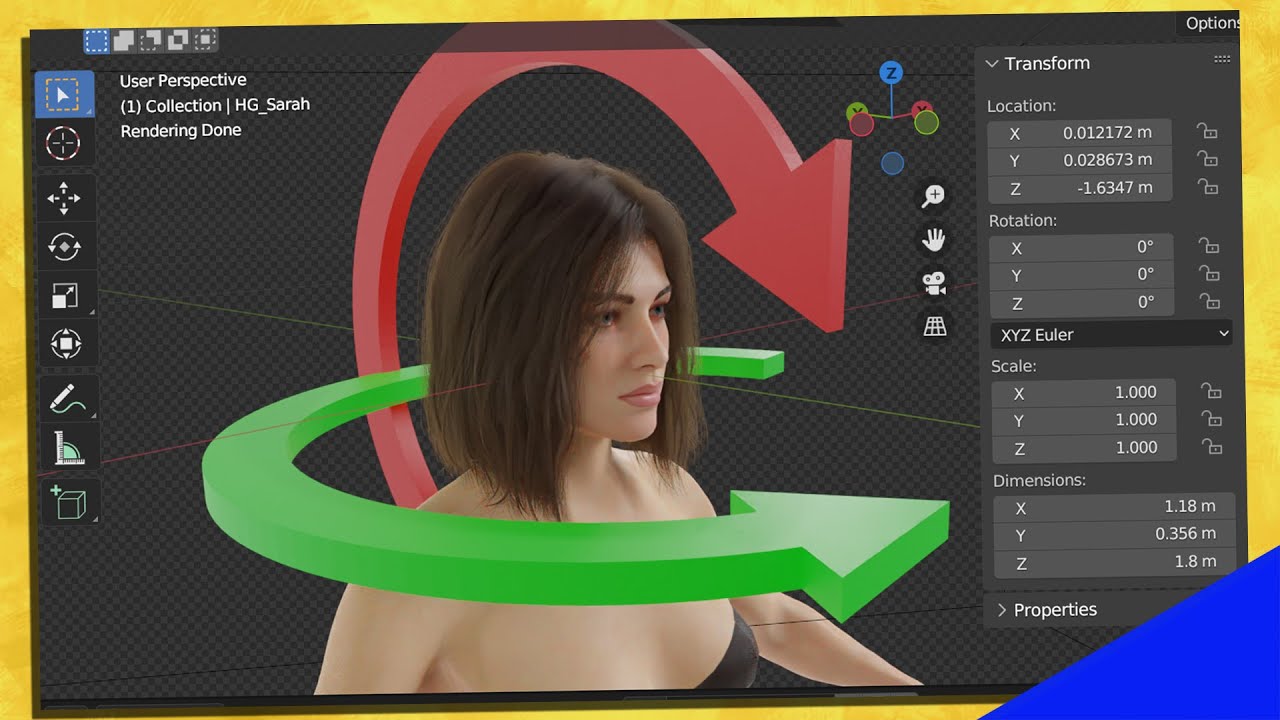
Rotate Object From Sidebar Settings
A third method of rotating an object in Blender is by manually adjusting the object’s rotation from the sidebar. The sidebar is the menu that opens inside the 3D Viewport on the right side. It is toggled open and closed with the keyboard shortcut “N.”
With the object selected in Object Mode and the sidebar menu open, select the sidebar tab labeled “Item.” The currently selected object’s location, rotation and scale will be displayed along all three axis.
We can adjust the rotation along each scale or enter a precise value (negative or positive) that we want the object to be rotated. This rotation will be the full assigned rotation of the object, so if you’ve already rotated it the numbers will have non-zero rotation values already.
Free Rotate an Object in Blender
Free rotating in Blender is a method of rotating that works like a trackball. To use trackball rotation in Blender, double tap the “R” key on the keyboard in rapid succession.
Then move your mouse around and the object will rotate freely without being constrained to the current view or a specific axis. Left click to lock in the rotation.

This method is good when you want a non-precise but random rotation.
Adjust an Object’s Rotation Pivot Point
Blender needs to know what to use as a pivot point when an object rotates. One option is the object’s origin point and I have an entire article about origin points.
At the top of the 3D Viewport is an option to change the origin point for pivoting and scaling an object.

When the individual origin is selected, each object selected will rotate on its origin point. When 3D cursor is selected, the location of the 3D cursor will be used as a rotation pivot point. Median point and active element become important when you have multiple objects selected.
Frequently Asked Questions
What is the shortcut for rotate in Blender?
The keyboard shortcut to rotate a selection in Blender is “R.” There are several additional commands you can input for the amount of rotation, to define an axis to rotate along and more.
Rotation in Blender is one of the three “transforms” which include moving, rotating and scaling. Most of what is covered in this article also applies when using the other methods of transforming an object.
Get Brandon’s Newsletter
By submitting, you agree to receive periodic e-mails from me. You can unsubscribe at any time.