
What can make our scene more interesting? It almost always comes down to lighting. A powerful and FREE way to add interesting lights in Blender is with IES lighting. The bad news first: This only works with Cycles (Sorry Eevee).
This page may contain affiliate links which pay me a commission if used to make a purchase. As an Amazon Associate, I earn from qualifying purchases.
What Are IES Lights?
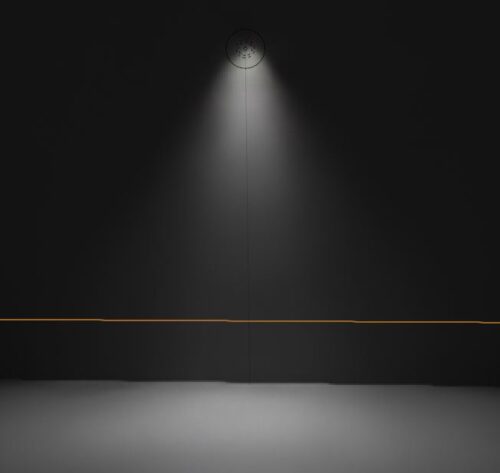
IES light files contain data that affects how light is dispersed from a light source. Real world lights are affected by the shape and thickness of the bulb, the housing around the light socket and other factors.
We can easily recreate these with IES lighting and add some realism to the lights in our scene using the IES Texture Node.


The “IES” in IES Lighting stands for “Illumination Engineering Society.” Manufacturers of real-world lights (like those found in buildings and streetlamps) create digital files which demonstrate how light from their products is distributed. Cycles supports these files and they’re easy to use.
They’re also completely free and can be used for any project, personal or commercial.
IESLibrary.com has compiled thousands of IES light files form different manufacturers, created thumbnails for them and categorized them.
Where to Download IES Light Files?
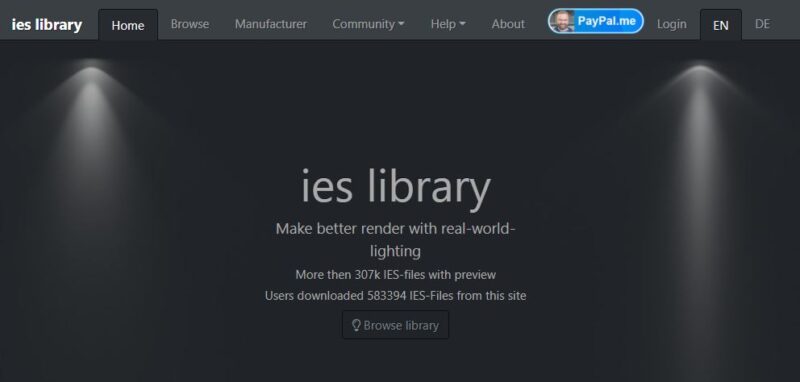
To use IES lights, go to IESLibrary.com. We can browse or sort by manufacturer or search by tags (like “outdoors” or “recessed”) to find files that represent lights of all different types.
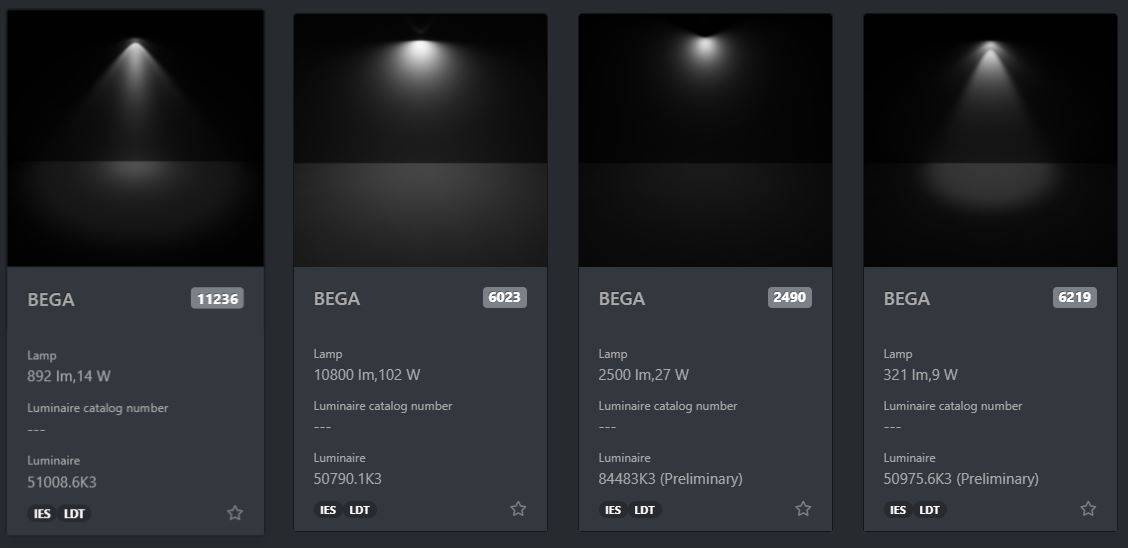
Find one we like and click on it. It’ll open up a details page. Click “Download IES” at the bottom.

A very small file will download to our computer.


Add an IES Light to a Blender Scene
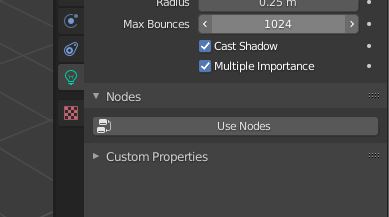
Now go to Blender. Change the render engine to Cycles, then add a point lamp to our scene. With the lamp selected, go to the lighting properties tab. Turn on “Use Nodes.”
Now go into the Shader Editor and we should see an Emission Shader plugged into a Light Output Node. Press “Shift+A” to add a shader. Search for “IES Texture” or find it under the textures category.

When the IES Texture Node appears, connect its “FAC” to the strength input of the Emission Node. Change the selector box from “internal” to “external” and a small file browser icon will appear.
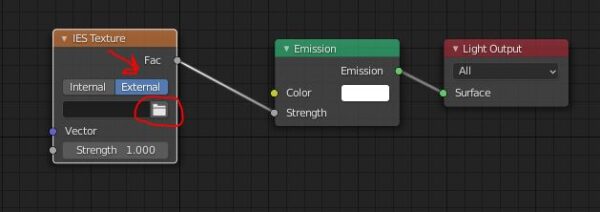
Select the file browser icon and navigate to the location on our computer where our IES file is saved. Select the IES file and press “Accept.” Now our IES light is set up. Take a look at it in the viewport. The default strength of 1.000 is usually WAY too high. Try turning it down to about .01 and experiment from there.
We can rotate and move the light like we would with any other light. We can change the color of the light on the Emission Shader node.
To learn more about lighting, see this post about all types of lighting in Blender.
These IES lights are a really cool way to spice up our lighting in Cycles. Check them out and play around with them. Please join e-mail list below and visit my YouTube channel for more tips and tricks. Stay creative!
Get Brandon’s Newsletter
By submitting, you agree to receive periodic e-mails from me. You can unsubscribe at any time.