Proportional editing in Blender is a way to have the movement of one element (part of a mesh or object) affect nearby elements…proportionally! It’s a useful tool for modeling objects in Blender.
This page may contain affiliate links which pay me a commission if used to make a purchase. As an Amazon Associate, I earn from qualifying purchases.
The proportional editing tool is useful for modifying meshes in a natural way. I’ll explain everything you need to know about how to use proportional editing in Blender.
Or watch my Micro Tip Video to learn Proportional Editing in 42 seconds!
How to Use Proportional Editing in Blender

The Proportional Editing tool is located at the top of the 3D Viewport in either Edit Mode or Object Mode. The toggle switch displays an icon of a small circle within a larger circle. This will become blue when toggled on.
We can also toggle proportional editing on and off with the shortcut “O” (O as in Ocean, not a zero). See my Blender Shortcuts Guide for more time-saving shortcuts.
Proportional Editing in Edit Mode
Proportional editing works in both object and edit mode, but it’s easier to first demonstrate in edit mode.
In edit mode, select a part of a mesh. This could be a single vertex, edge or plane. Or it could be many elements of the mesh (just not the entire mesh). Toggle proportional editing on and then use the shortcut “G” to move the selected portion of the mesh.
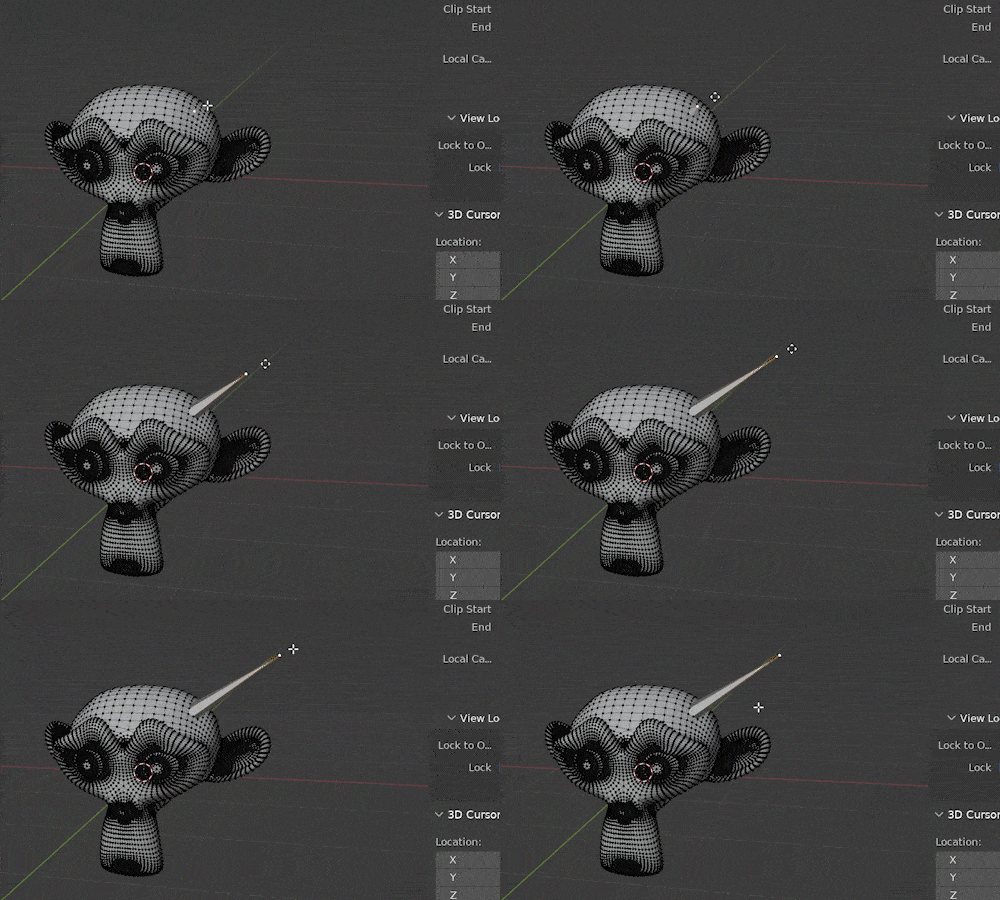
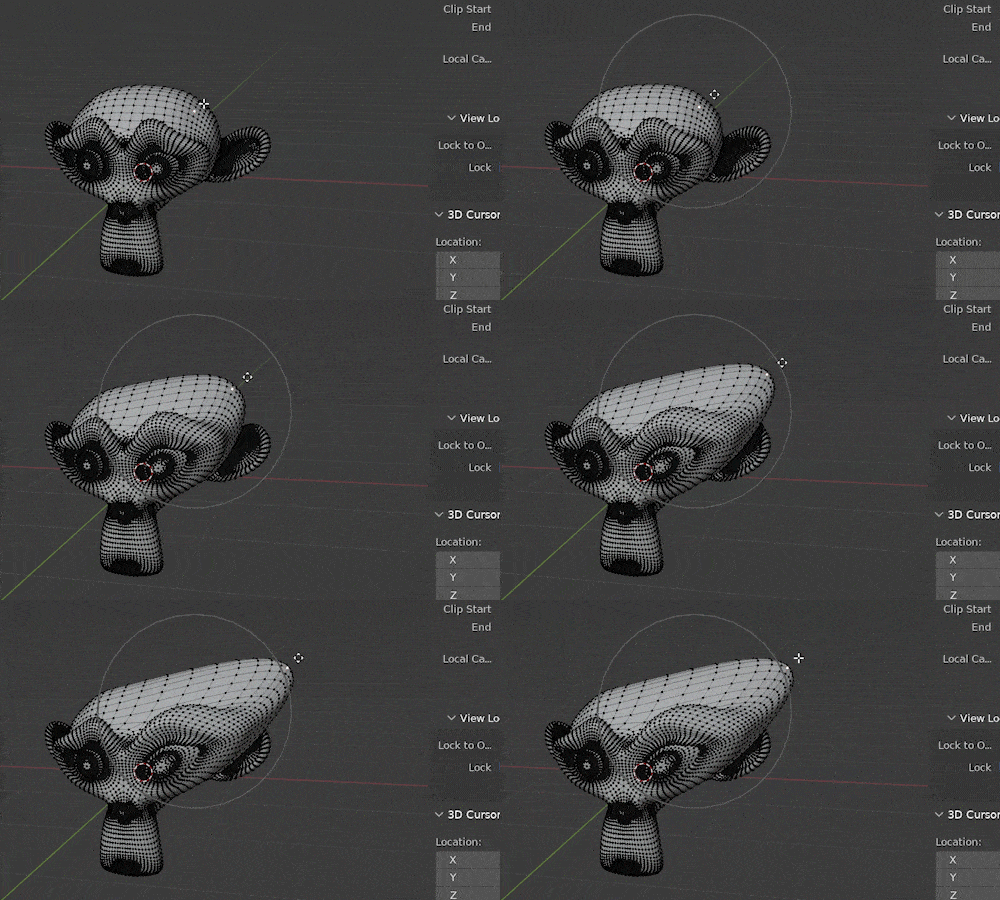
The selected geometry will move but will pull the geometry around it proportionally. The amount that each surrounding vertex moves gets smaller the farther they are from the selected mesh element.
This dissipation is called “Falloff.” We can adjust both the shape of the falloff and how far the falloff extends.
Adjusting Proportional Editing Size
There are two adjustments in Blender that we can make for how proportional editing affects the nearby geometry. First, we can adjust how far the proportional editing will reach. This is known as either the size or radius of the proportional editing.
When we transform a mesh (move, scale or rotate it) with proportional editing activated, a circle will display around the selected mesh in our 3D viewport.
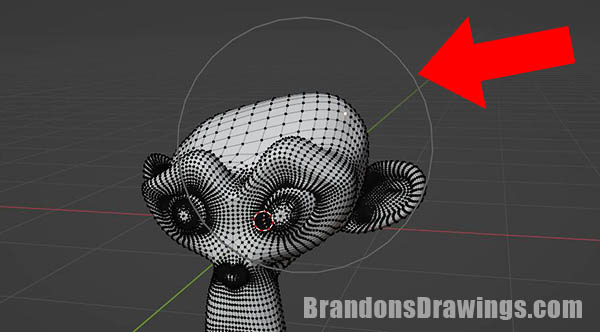
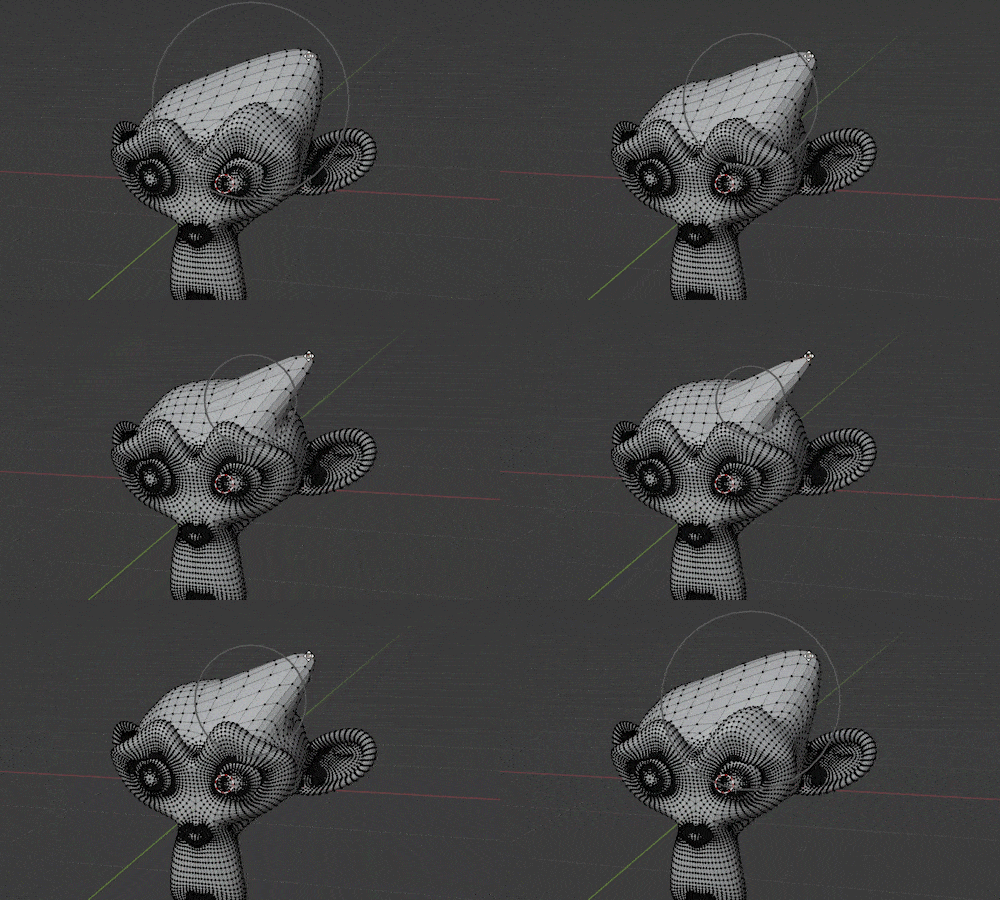
This circle represents the size of the falloff radius (how far the effect will reach). After we press G, R or S (to move, rotate or scale) we can make this circle larger or smaller by scrolling the middle mouse wheel. The size will adjust in real time within the viewport.
Alternatively, we can use the “Page Up” and “Page Down” buttons on the keyboard to change the size of the radius.
Adjusting Proportional Editing Falloff Shape
If we look back to the top of the 3D Viewport, we see a second icon to the left of the proportional editing icon. This is the proportional editing falloff setting.

When we select the falloff icon, a menu opens. Two checkbox options are displayed above eight options for falloff type.
Checking “Connected Only” will limit the proportional editing effect to connected geometry. Unconnected or loose segments will not be affected with this on.
“Projected from View” uses a screen space projection. I haven’t been able to notice a difference with this selected.
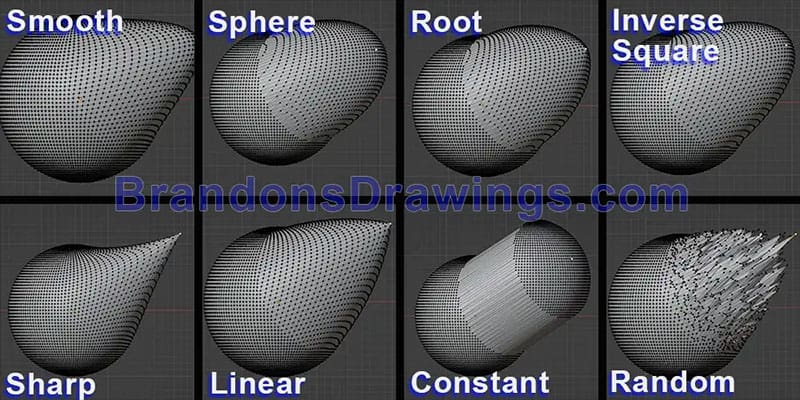
As you see, we get some interesting effects just by changing the falloff type.
Proportional Editing – Object Mode
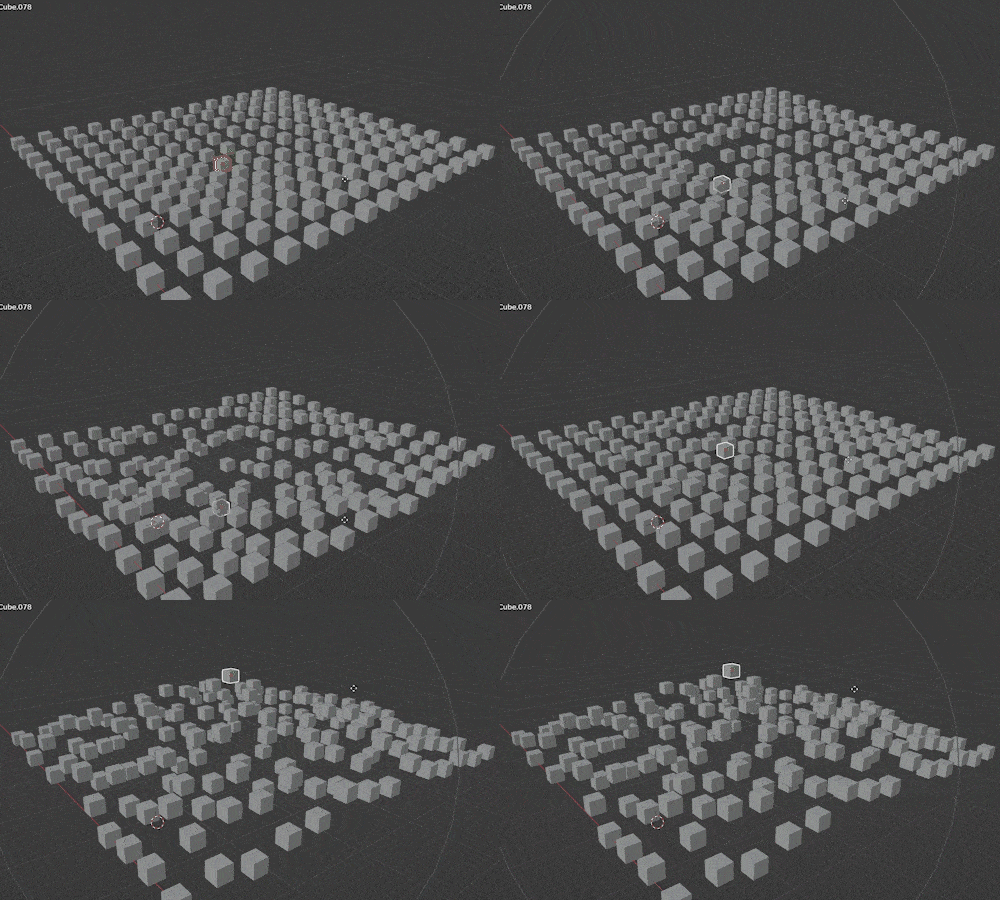
Proportional editing works in Object Mode as well. In this mode, when we transform (move, rotate or scale) an object or multiple objects, surrounding objects will be affected proportionally.
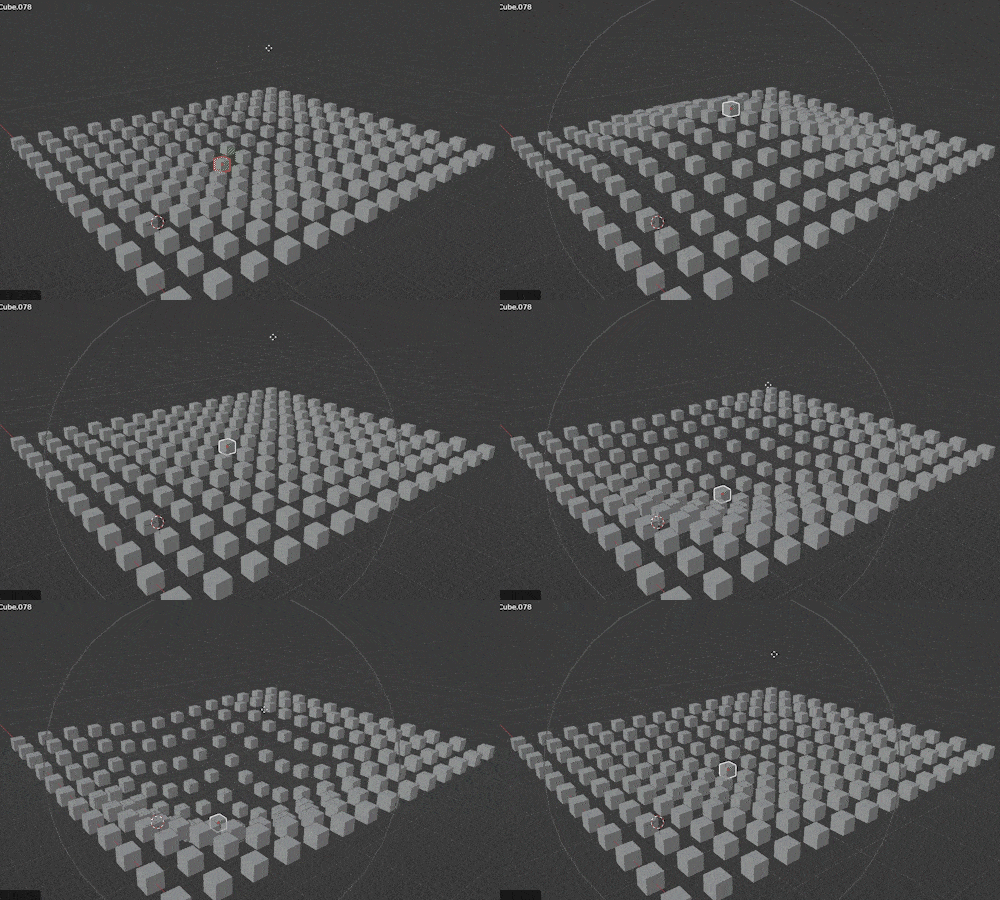
This can be great for moving around many objects you may have duplicated in a scene with specific effects. Again, all the falloff types will work in object mode. Below is random falloff applied to a group of cubes.
Proportional Editing – Troubleshooting
Two main problems can occur when using Proportional Editing. The first is that we forget to turn it off. The next time we transform our mesh or objects, we inadvertently transform nearby elements.
If it’s drastic, we will notice. But if it’s a subtle change it can cause unseen problems down the road.
Unfortunately, the only way to fix this is to use undo (Ctrl + Z) but we would need to notice the issue early. Pay special attention when using proportional editing. Remember to deactivate it when you’re done using it!
The second issue is losing sight of the circle that designates our radius. I’ve many times thought the circle was too small. So I scroll a lot to make it larger only to realize it’s gigantic. It can be frustrating scrolling our mouse wheel with no idea where (or how big) our radius indicator is.
Fortunately, when we are using proportional editing in Blender, the size of the radius is displayed in the top left corner of the viewport.

The currently selected falloff type is also displayed which may be helpful.
We can monitor this as we increase or decrease the size of the radius (with the mouse wheel scroll). If it appears very large we can make it smaller and vice versa.
Wrapping Up
Proportional editing is a great tool that should be understood early in our Blender learning. Please take a look around my site for more helpful articles. I also have a full guide on Blender’s user preferences you can use as reference. Take care and stay creative!
If you’d like to review proportional editing in the Blender Manual, you can see it here.
Get Brandon’s Newsletter
By submitting, you agree to receive periodic e-mails from me. You can unsubscribe at any time.


