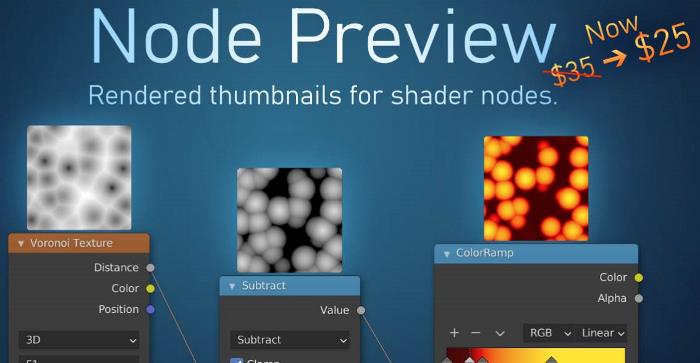
Using material nodes in Blender can get messy. It’s hard to remember which node is doing what. It is difficult to visualize the effect any single node has on the final material. Here is a Blender add-on that helps a lot!
This page may contain affiliate links which pay me a commission if used to make a purchase. As an Amazon Associate, I earn from qualifying purchases.
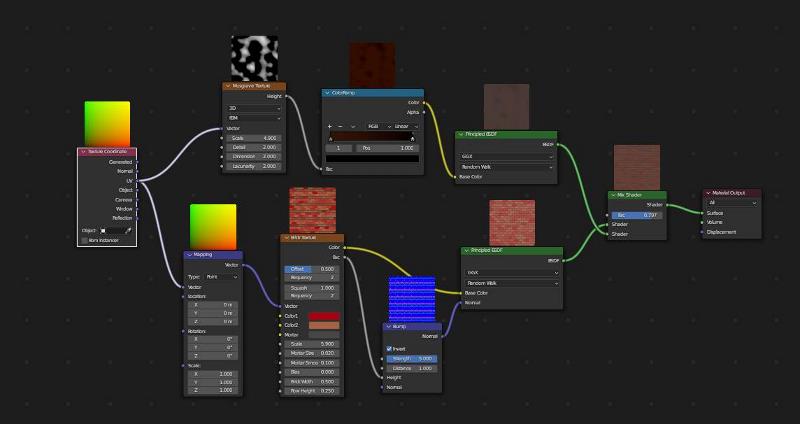
The Node Preview Add-On for Blender was created by Simon Wendsche. It adds a preview image above (almost) every node in the shader editor. The images display the outputs of each node and they update in real time.
Installing Node Preview
The Node Preview add-on is installed the same way as other add-ons in Blender. Here’s a full explanation on installing add-ons.
Once the add-on is installed, there isn’t really anything else to do. We begin seeing a preview images above nodes in the shader editor. Each image shows how the output of the respective node appears.
Node Preview Settings
In the add-on settings section of the Blender User Preferences, there are a few controls for the Node Preview plug-in.

Previews Visible by Default
With the “Previews Visible by Default” setting activated, every node will have a preview image by default. If you’d like to choose which nodes to preview individually, uncheck this box.
Then in the shader editor, select a node and press “Ctrl + Shift + P” to activate a preview for only the selected nodes.
Thumbnail Scale
The scale of the thumbnail is how large the preview will be above the node. It defaults to 50% but can be increased or decreased.


Thumbnail Resolution
The resolution of the thumbnail defaults to 150 pixels. We can move the slider to as high as 300 pixels but can type in values up to 500. Higher resolutions may look crisper and have more detail but may slow down performance.
Background
The background setting is for when a node outputs transparency. It can be set to display the standard checkerboard transparency pattern or a specific solid color of our choice. If we choose a checkerboard pattern, we can select custom colors for it.
To learn more, I have a full article about transparent materials in Blender.
Show Help Messages
We can turn on and off help messages, but I honestly don’t know where these help messages appear.
Enable Debug Output
Turn this on if we want to write debug info to the console (a programming and development tool for Blender that most won’t need).
Node Preview Shortcuts
There are a few shortcuts / hotkeys that work with the addon while in the shader editor.
Toggle Visibility of Node Preview
To toggle the visibility of a node with the Node Preview addon, select a node and press “Ctrl + Shift + P.” This is useful if we only want certain node previews visible at a given time.
Ignore Scale of Image in Preview
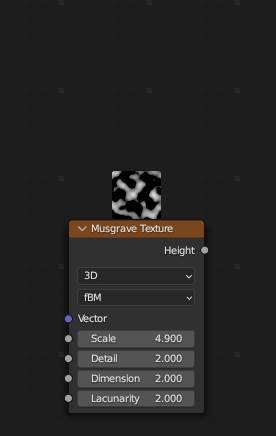
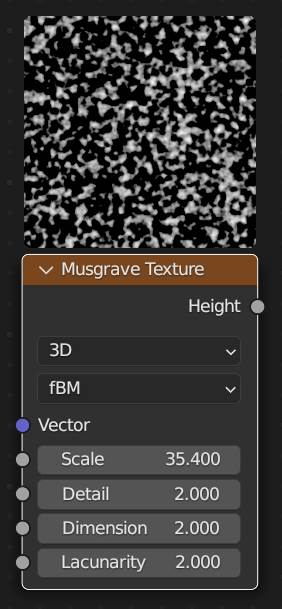
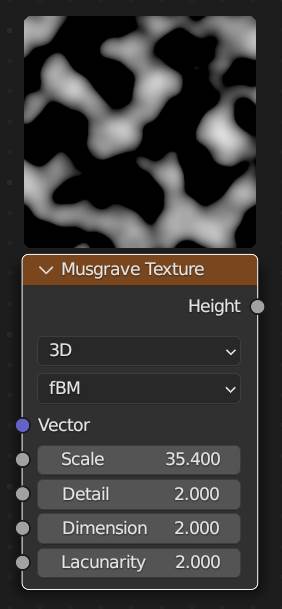
When the scale of a node’s output is made very large or very small, it can be difficult to see what the output looks like without the scaling. We may not want the scaling to affect the node preview image. We can have the node preview image ignore the scale input of the selected node.
To have the Node Preview add-on ignore the scale input of a selected node, press “Ctrl + Shift + i.” Press this again to toggle the visibility of the scaling back on. Here is an example of the difference.
Node Output Preview Selector
Some nodes have multiple output sockets. With the Node Preview Addon for Blender, we can choose which output we wish to preview. Select a node with multiple outputs and press “Shift + O.” A small menu box will appear in the editor.
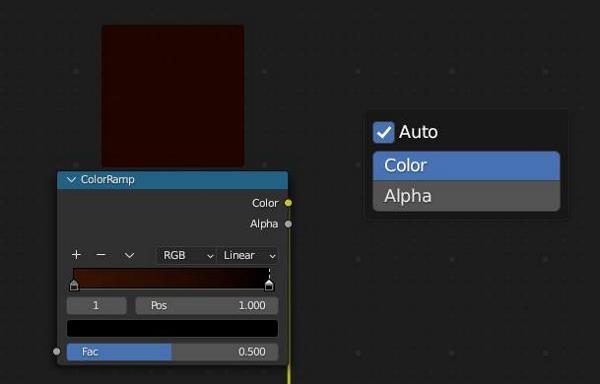
By default the menu box is set to “Auto.” We can select from the list of available outputs. Whichever output is selected will be the image that appears in the preview.
Huion Inspiroy HP640P Tablet
An affordable drawing tablet and pen popular with Blender artists.
Node Preview Add-On Review
What do I think of the Node Preview add-on for Blender?
The add-on is simple and it works consistently. It’s flexible so we can turn on and off previews for different nodes. It really provides a function I wish Blender had by default.
The only drawback I found is it does slow down the shader editor at times. Fortunately it’s simple to turn on and off the preview nodes and only use them when they’re needed.
If you use procedural nodes regularly, you will find this add-on very helpful. Check it out on Blender Market if interested and…. Stay Creative!
Get Brandon’s Newsletter
By submitting, you agree to receive periodic e-mails from me. You can unsubscribe at any time.


