We often want to add more than one material to an object in Blender 3D. Here’s a quick lesson on how to use material slots to add multiple materials to objects in Blender.
This page may contain affiliate links which pay me a commission if used to make a purchase. As an Amazon Associate, I earn from qualifying purchases.
Material Slots
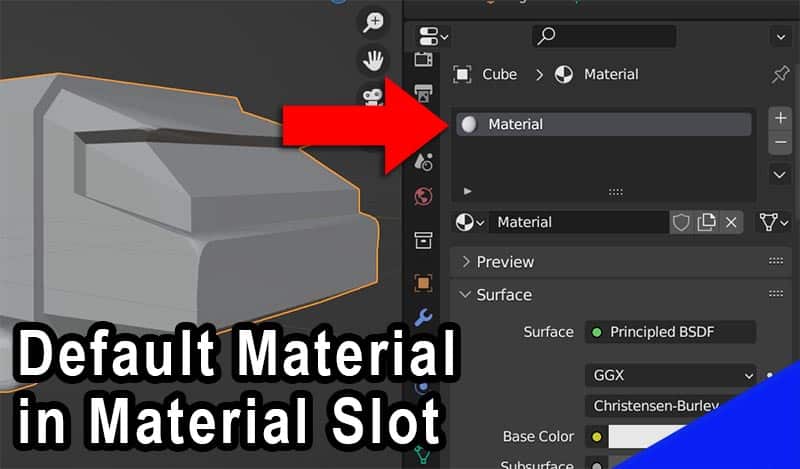
For most users, Blender will add a default material when a new object is created. We find the material settings for an object in the Material Properties Panel. As shown below, the selected object has one material assigned to it in a “material slot.”
This material is visible on all parts of the mesh. Any changes made to the material will apply to all of the object.
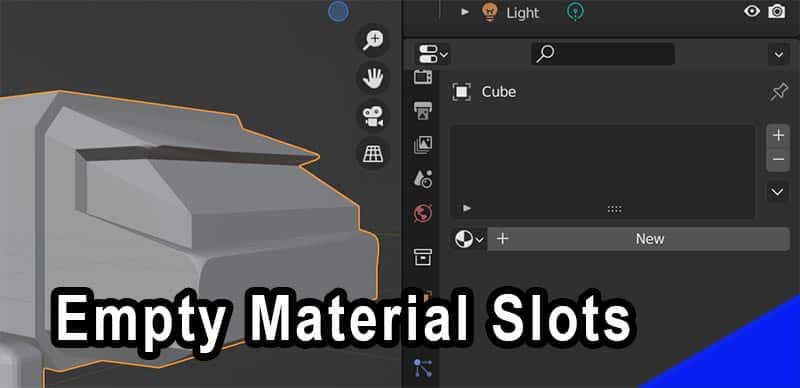
If the object did not have a default material assigned, the material slots would be empty as shown here:
Adding Material Slots
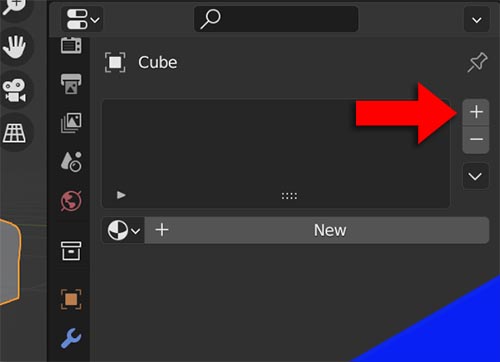
To add a second material to our object, we first must add a second material slot on the object. Do this by pressing the “plus” icon to the right of the material slots.
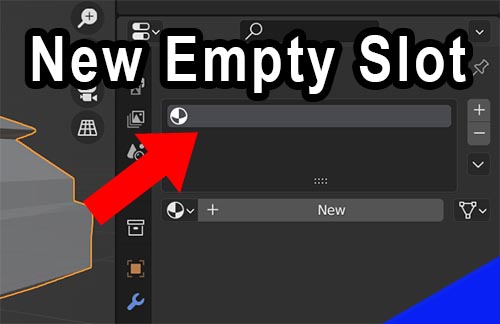
A new and empty material slot has been added to the material. We now must assign a material to the empty slot.
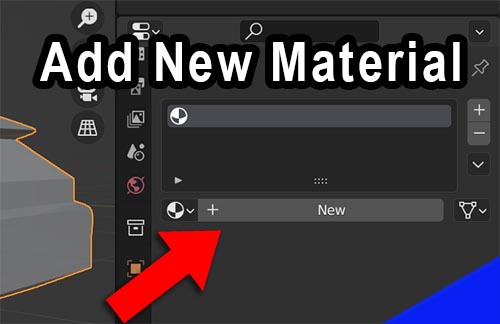
We can press the “New” button to add a brand new material to the slot…
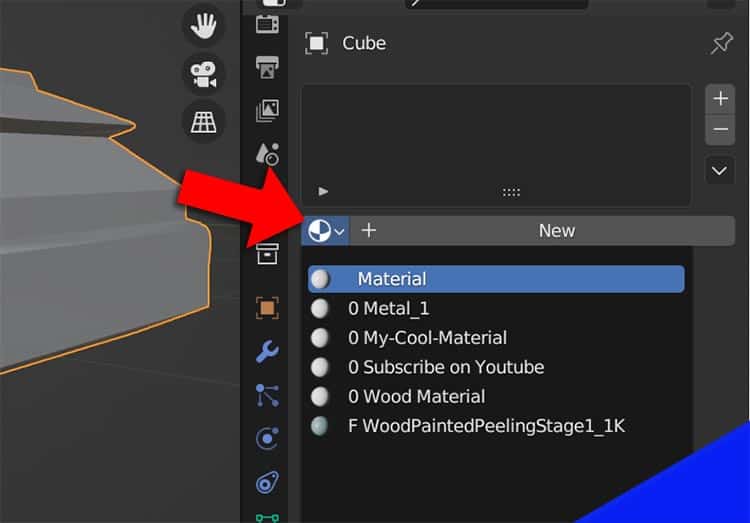
Or we can choose from a material that is already available in the .blend file by clicking the material selector icon to the left of the “New” button…
We can press the “plus” icon again to add a second material slot. Choose either a new material or from an existing material in the .blend file as we did for the first material. We can repeat this to add as many material slots as we need.
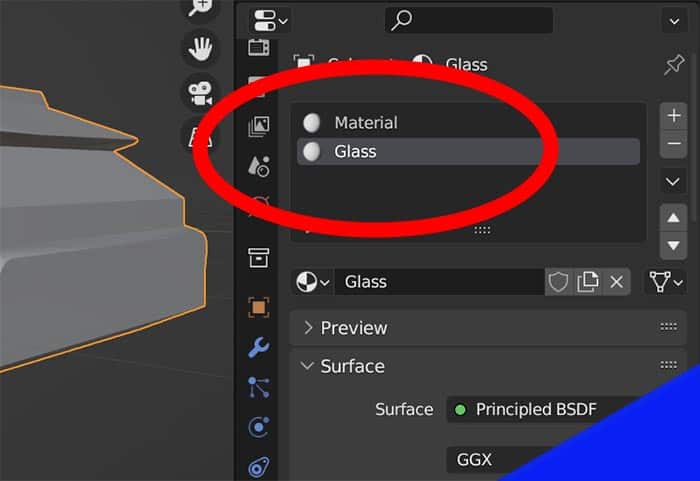
Now there are two materials assigned to the object. We need to tell Blender which parts of the mesh should have the first material and which parts should have the second.
Assigning Materials to Mesh
By default, the first material assigned to the object (the top slot) will be assigned to the entire object. We can go into Edit Mode and individually assign different materials to selected parts of the mesh. Press “Tab” to enter edit mode with the object selected.
Select the parts of the mesh you want to add a different material to. In this case, I wan to add the “Glass” material to the glass parts of the object. I’ve selected all the parts of the object that should be glass. Here’s a lot more on how to select in Blender.
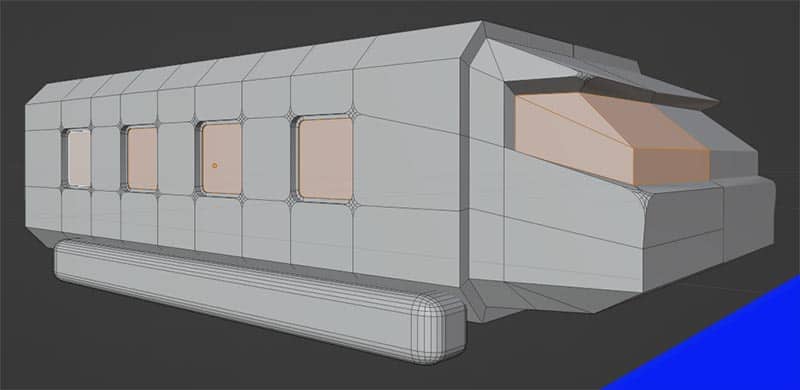
In the Material Properties Panel (while in Edit Mode) the option to assign materials to the selected mesh is available. Ensure the material slot you want to assign the material from is selected and press “Assign.”
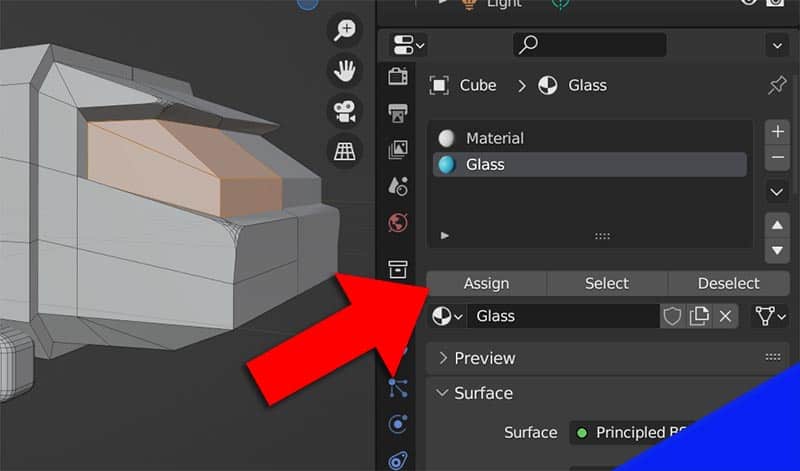
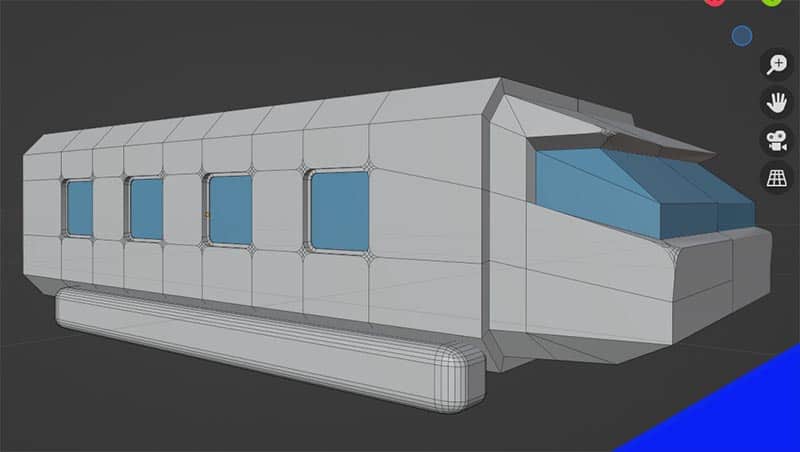
The selected material will be assigned to the selected mesh. We can repeat this with additional materials or on different parts of the object’s mesh.
Thank you for following along. I hope it was helpful. Please have a look around the site and don’t forget to join my free newsletter to get Blender tips sent to your inbox. Stay creative!


